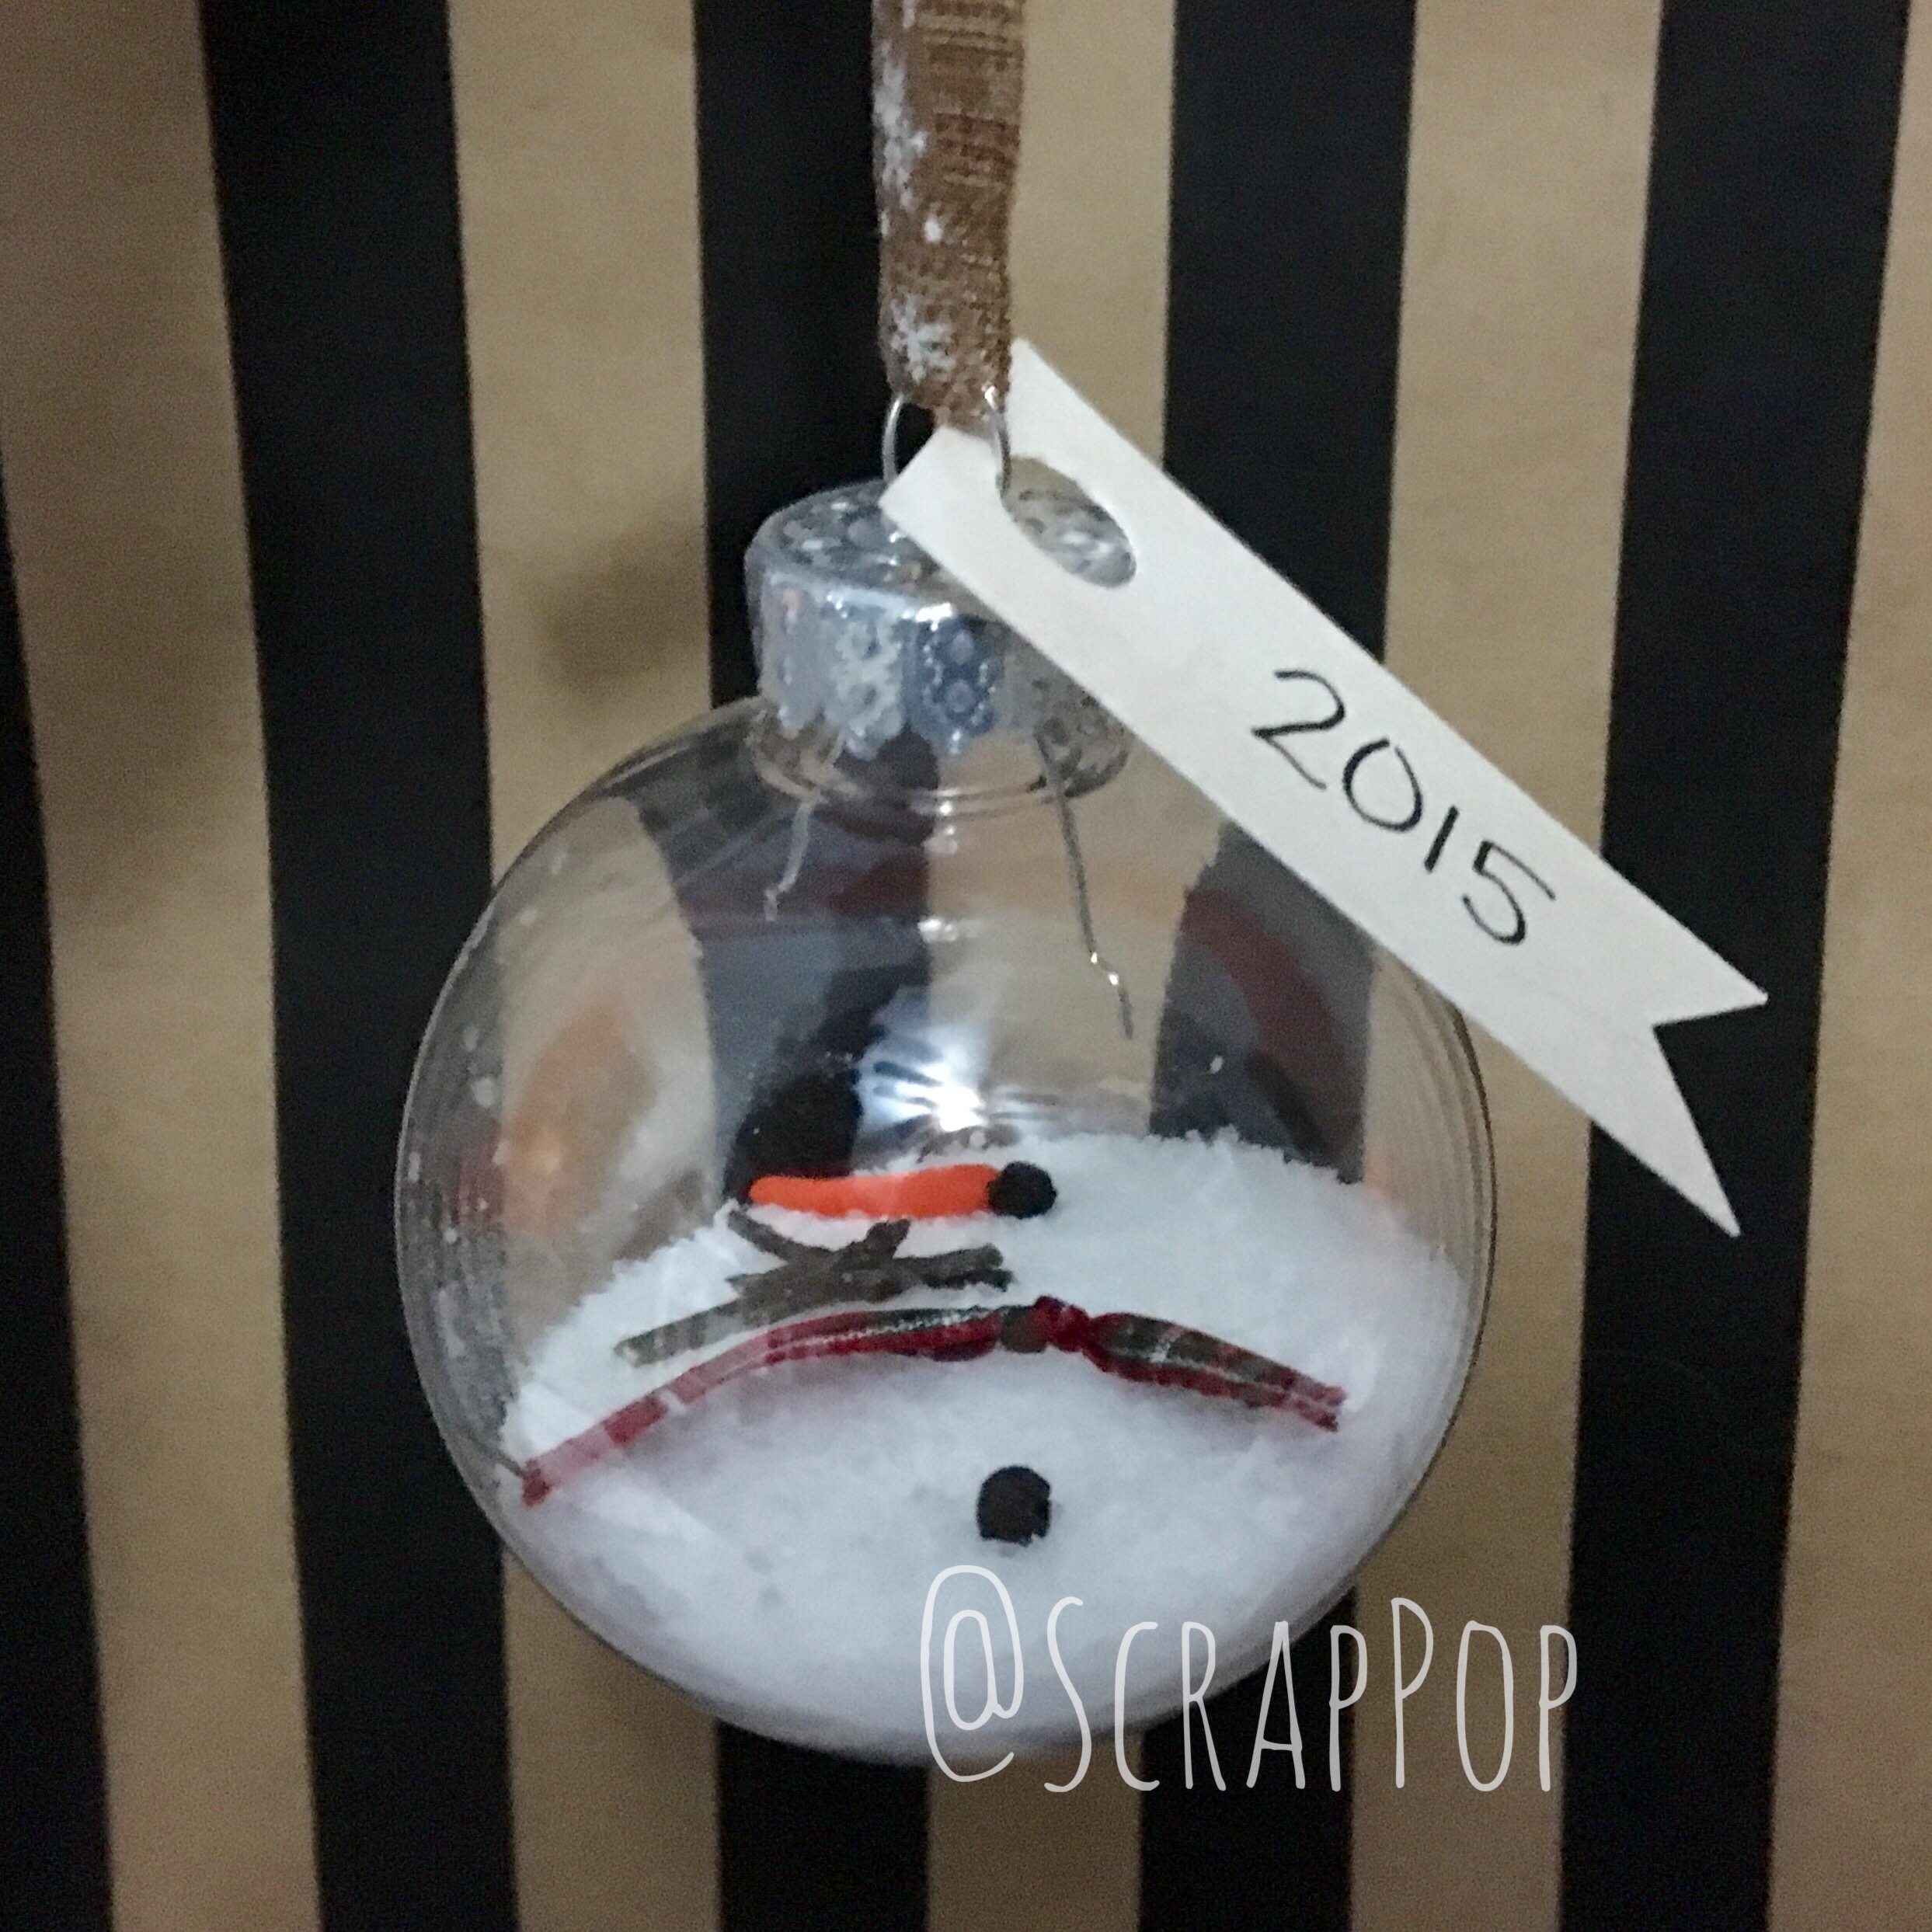
No, this isn’t an anti-Frozen post, but who doesn’t love to build a snowman. The challenge here in Chicago is we haven’t really had any real snow. So, I decided we could certainly at least celebrate with melted snowmen!
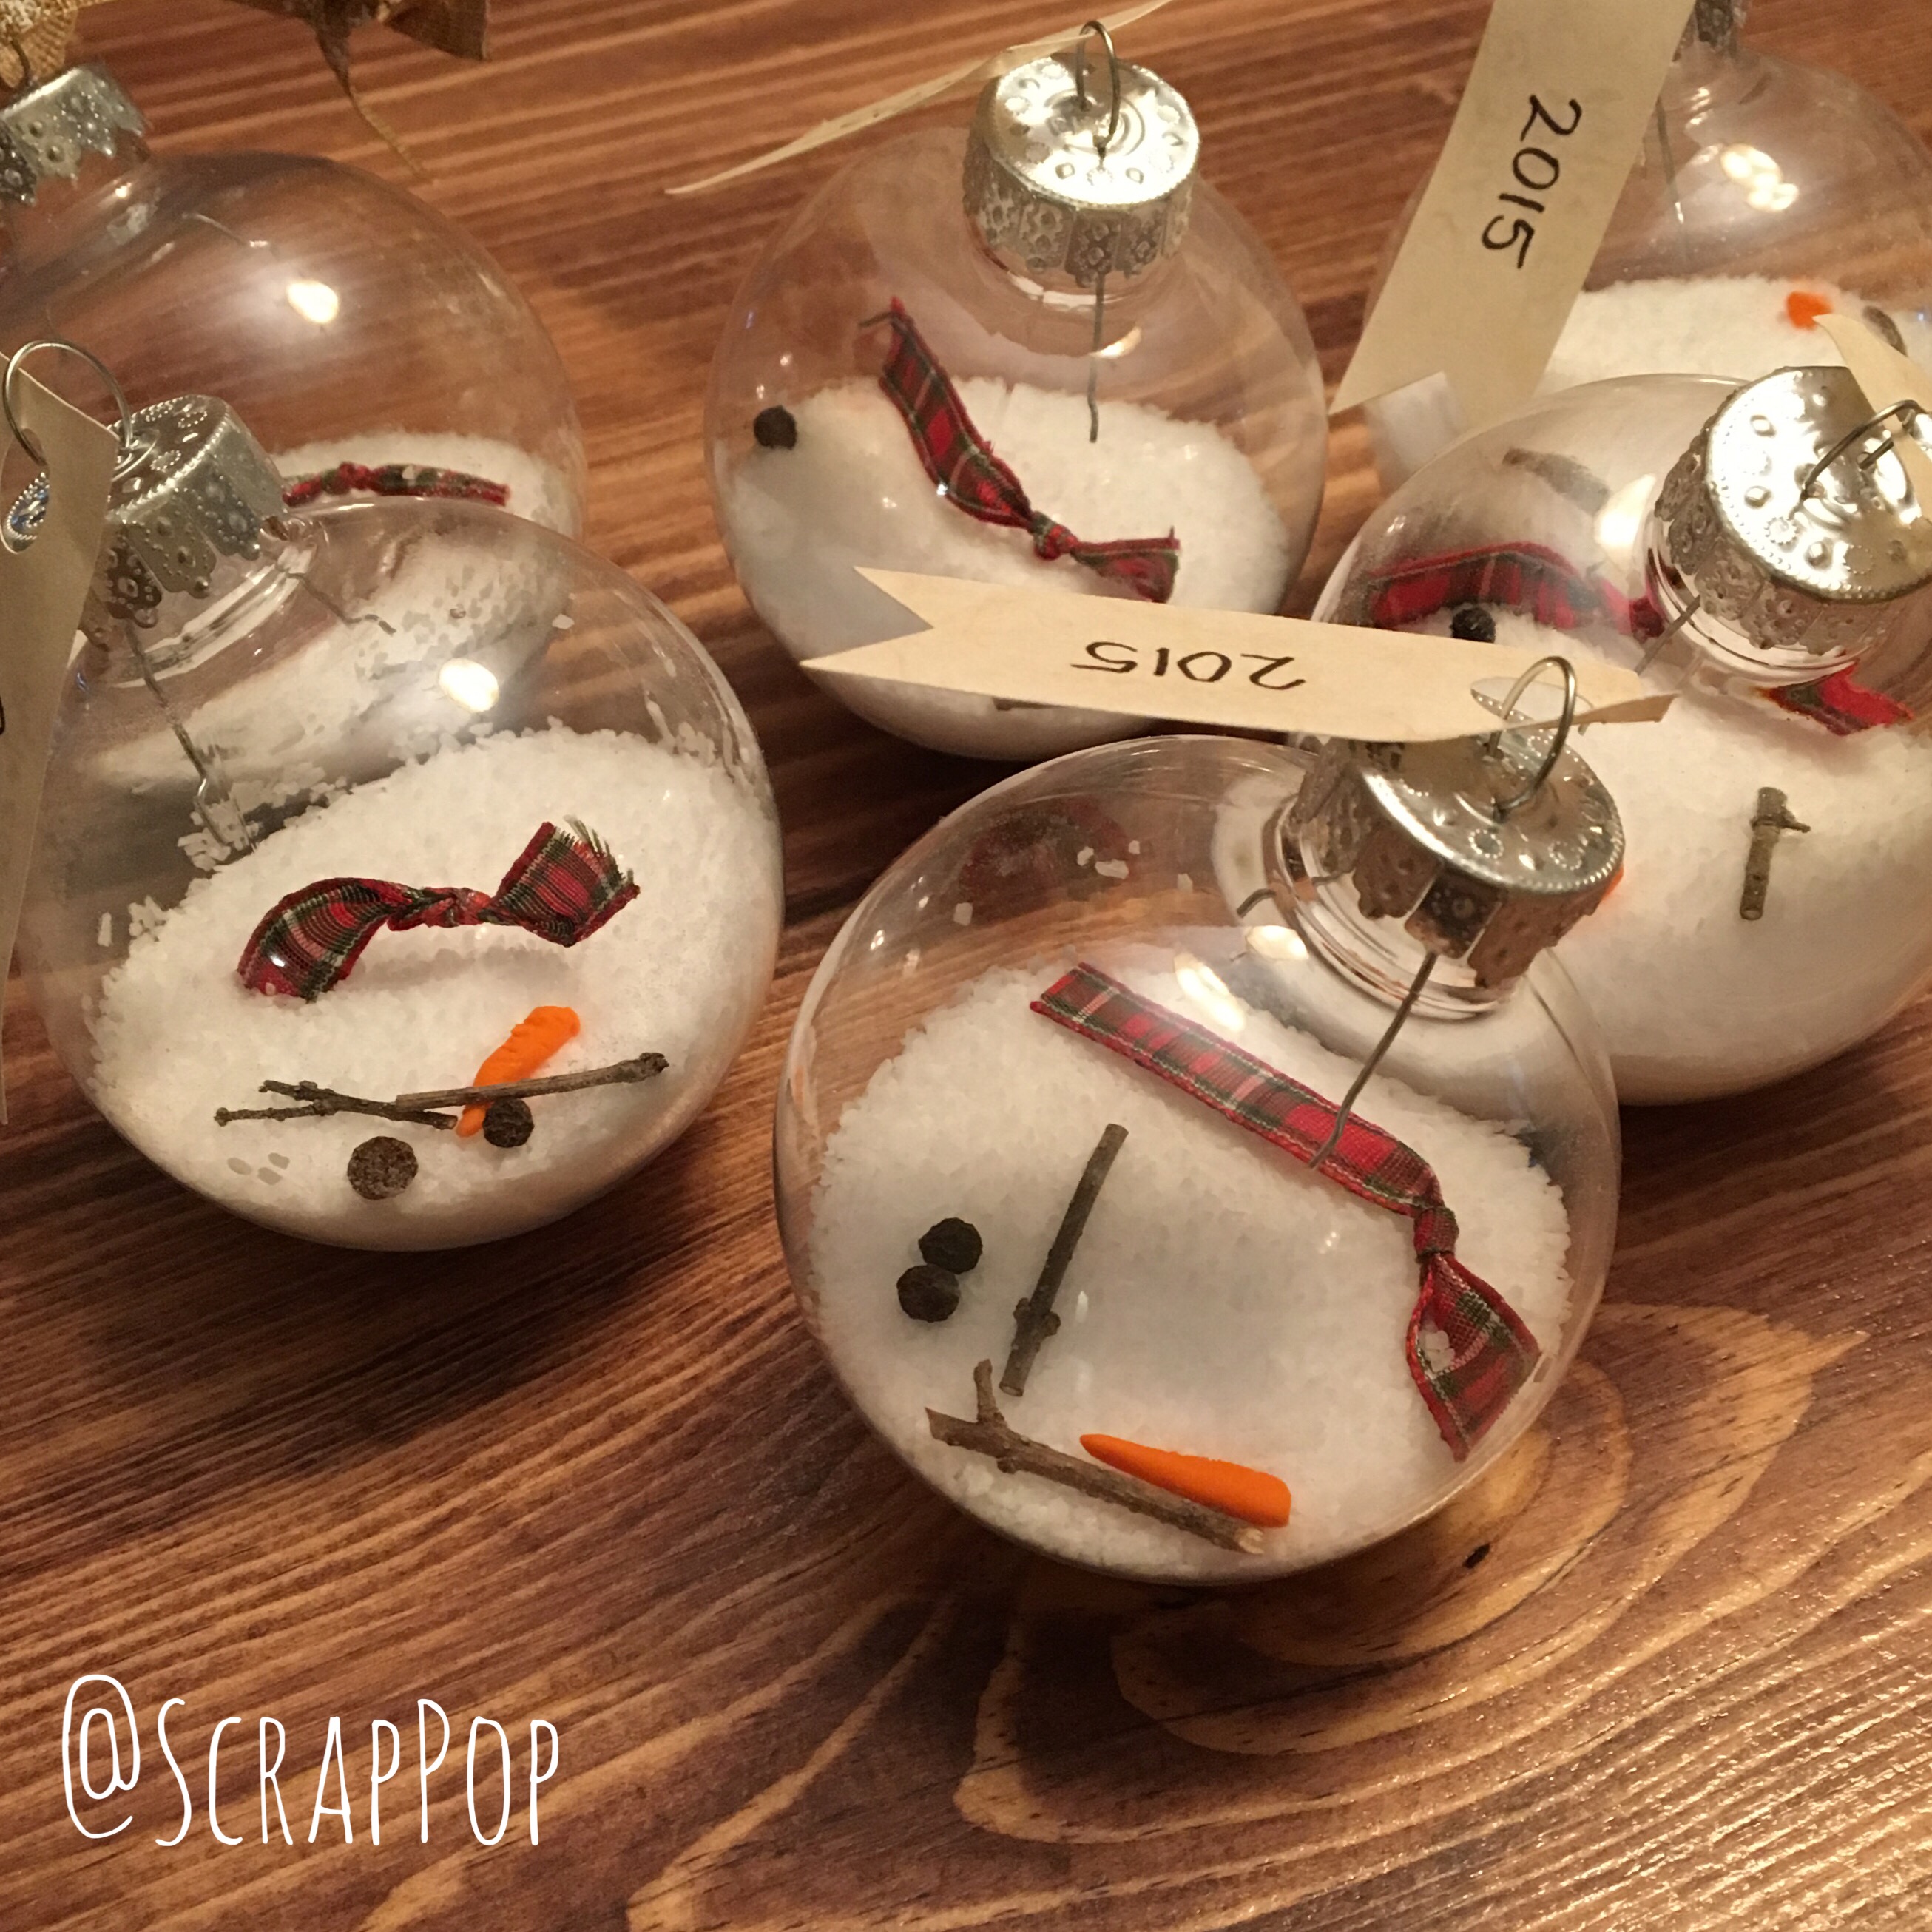
I saw this clever idea for a melted snowman ornament on Pinterest and of course had to give it a try first at home and then as a room parent at school. It’s quick and easy with very little clean-up!
Do you want to build a snowman, a melted snowman that is?
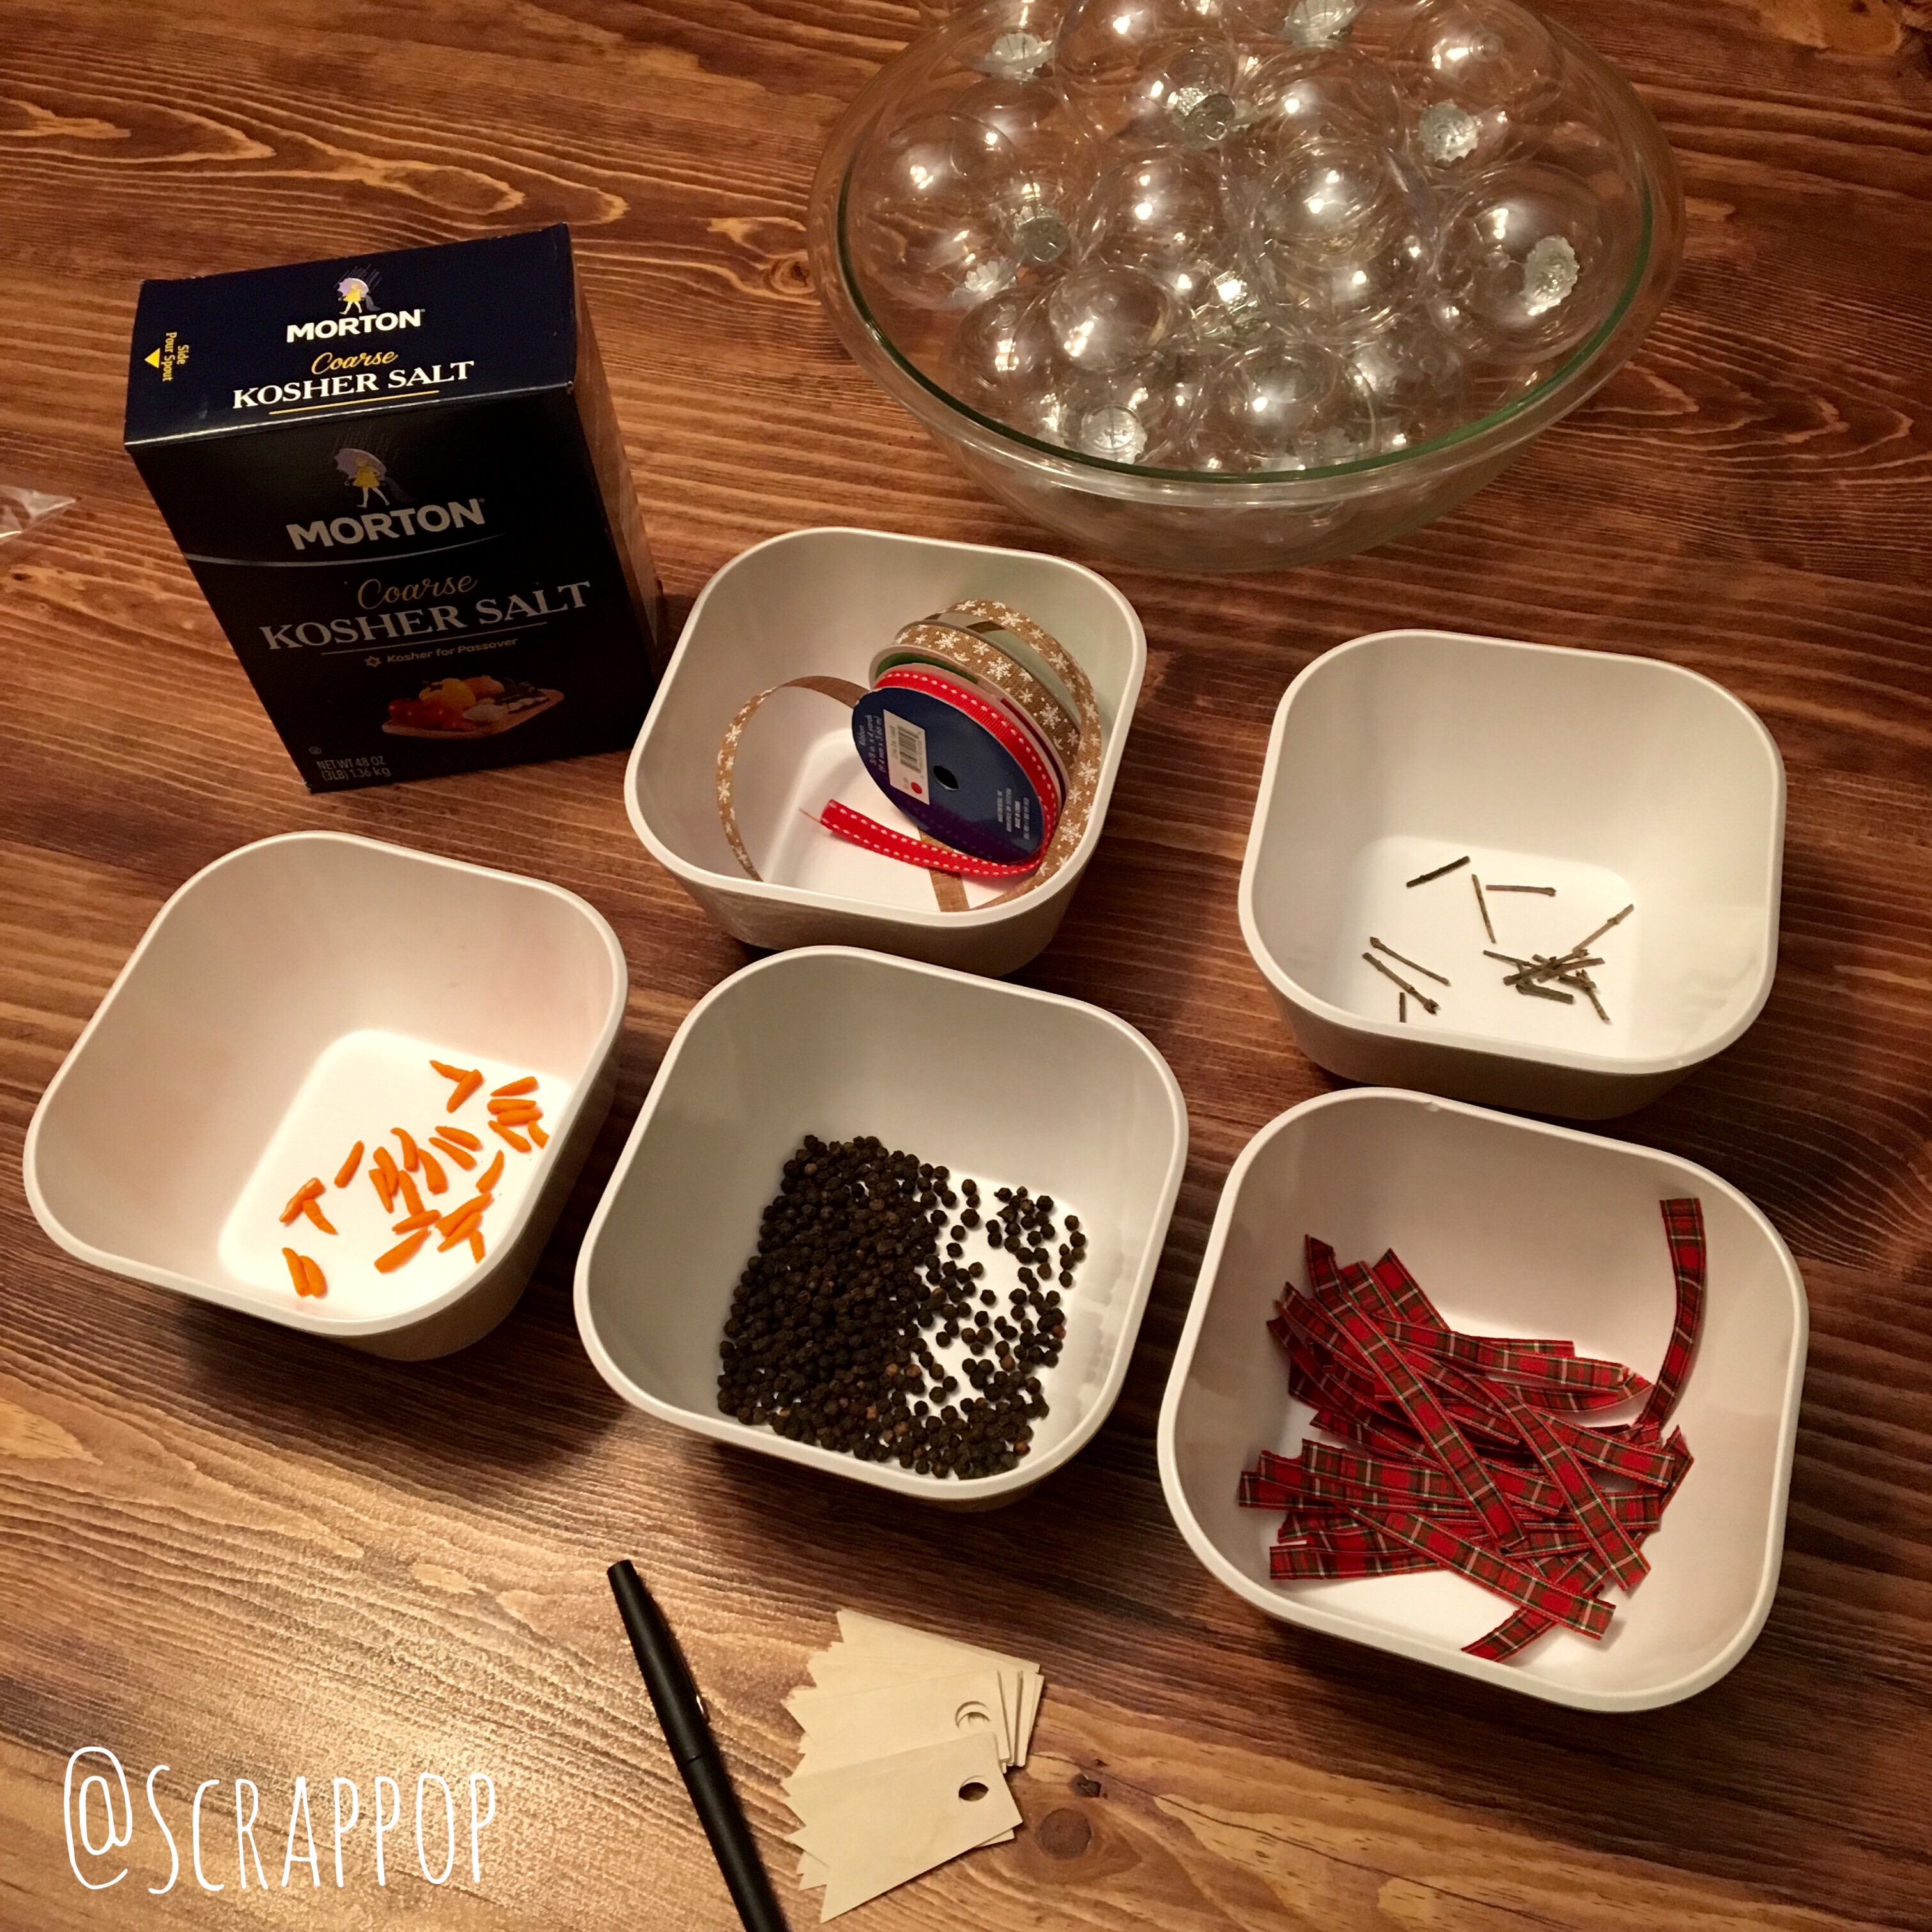
Supplies:
- Plastic clear ornament. I got mine at Michaels on sale for .39
- Snow: Kosher Salt, you only need @ 2 Tablespoons per ornament
- Small funnel or spare piece of paper for adding salt to the ornament
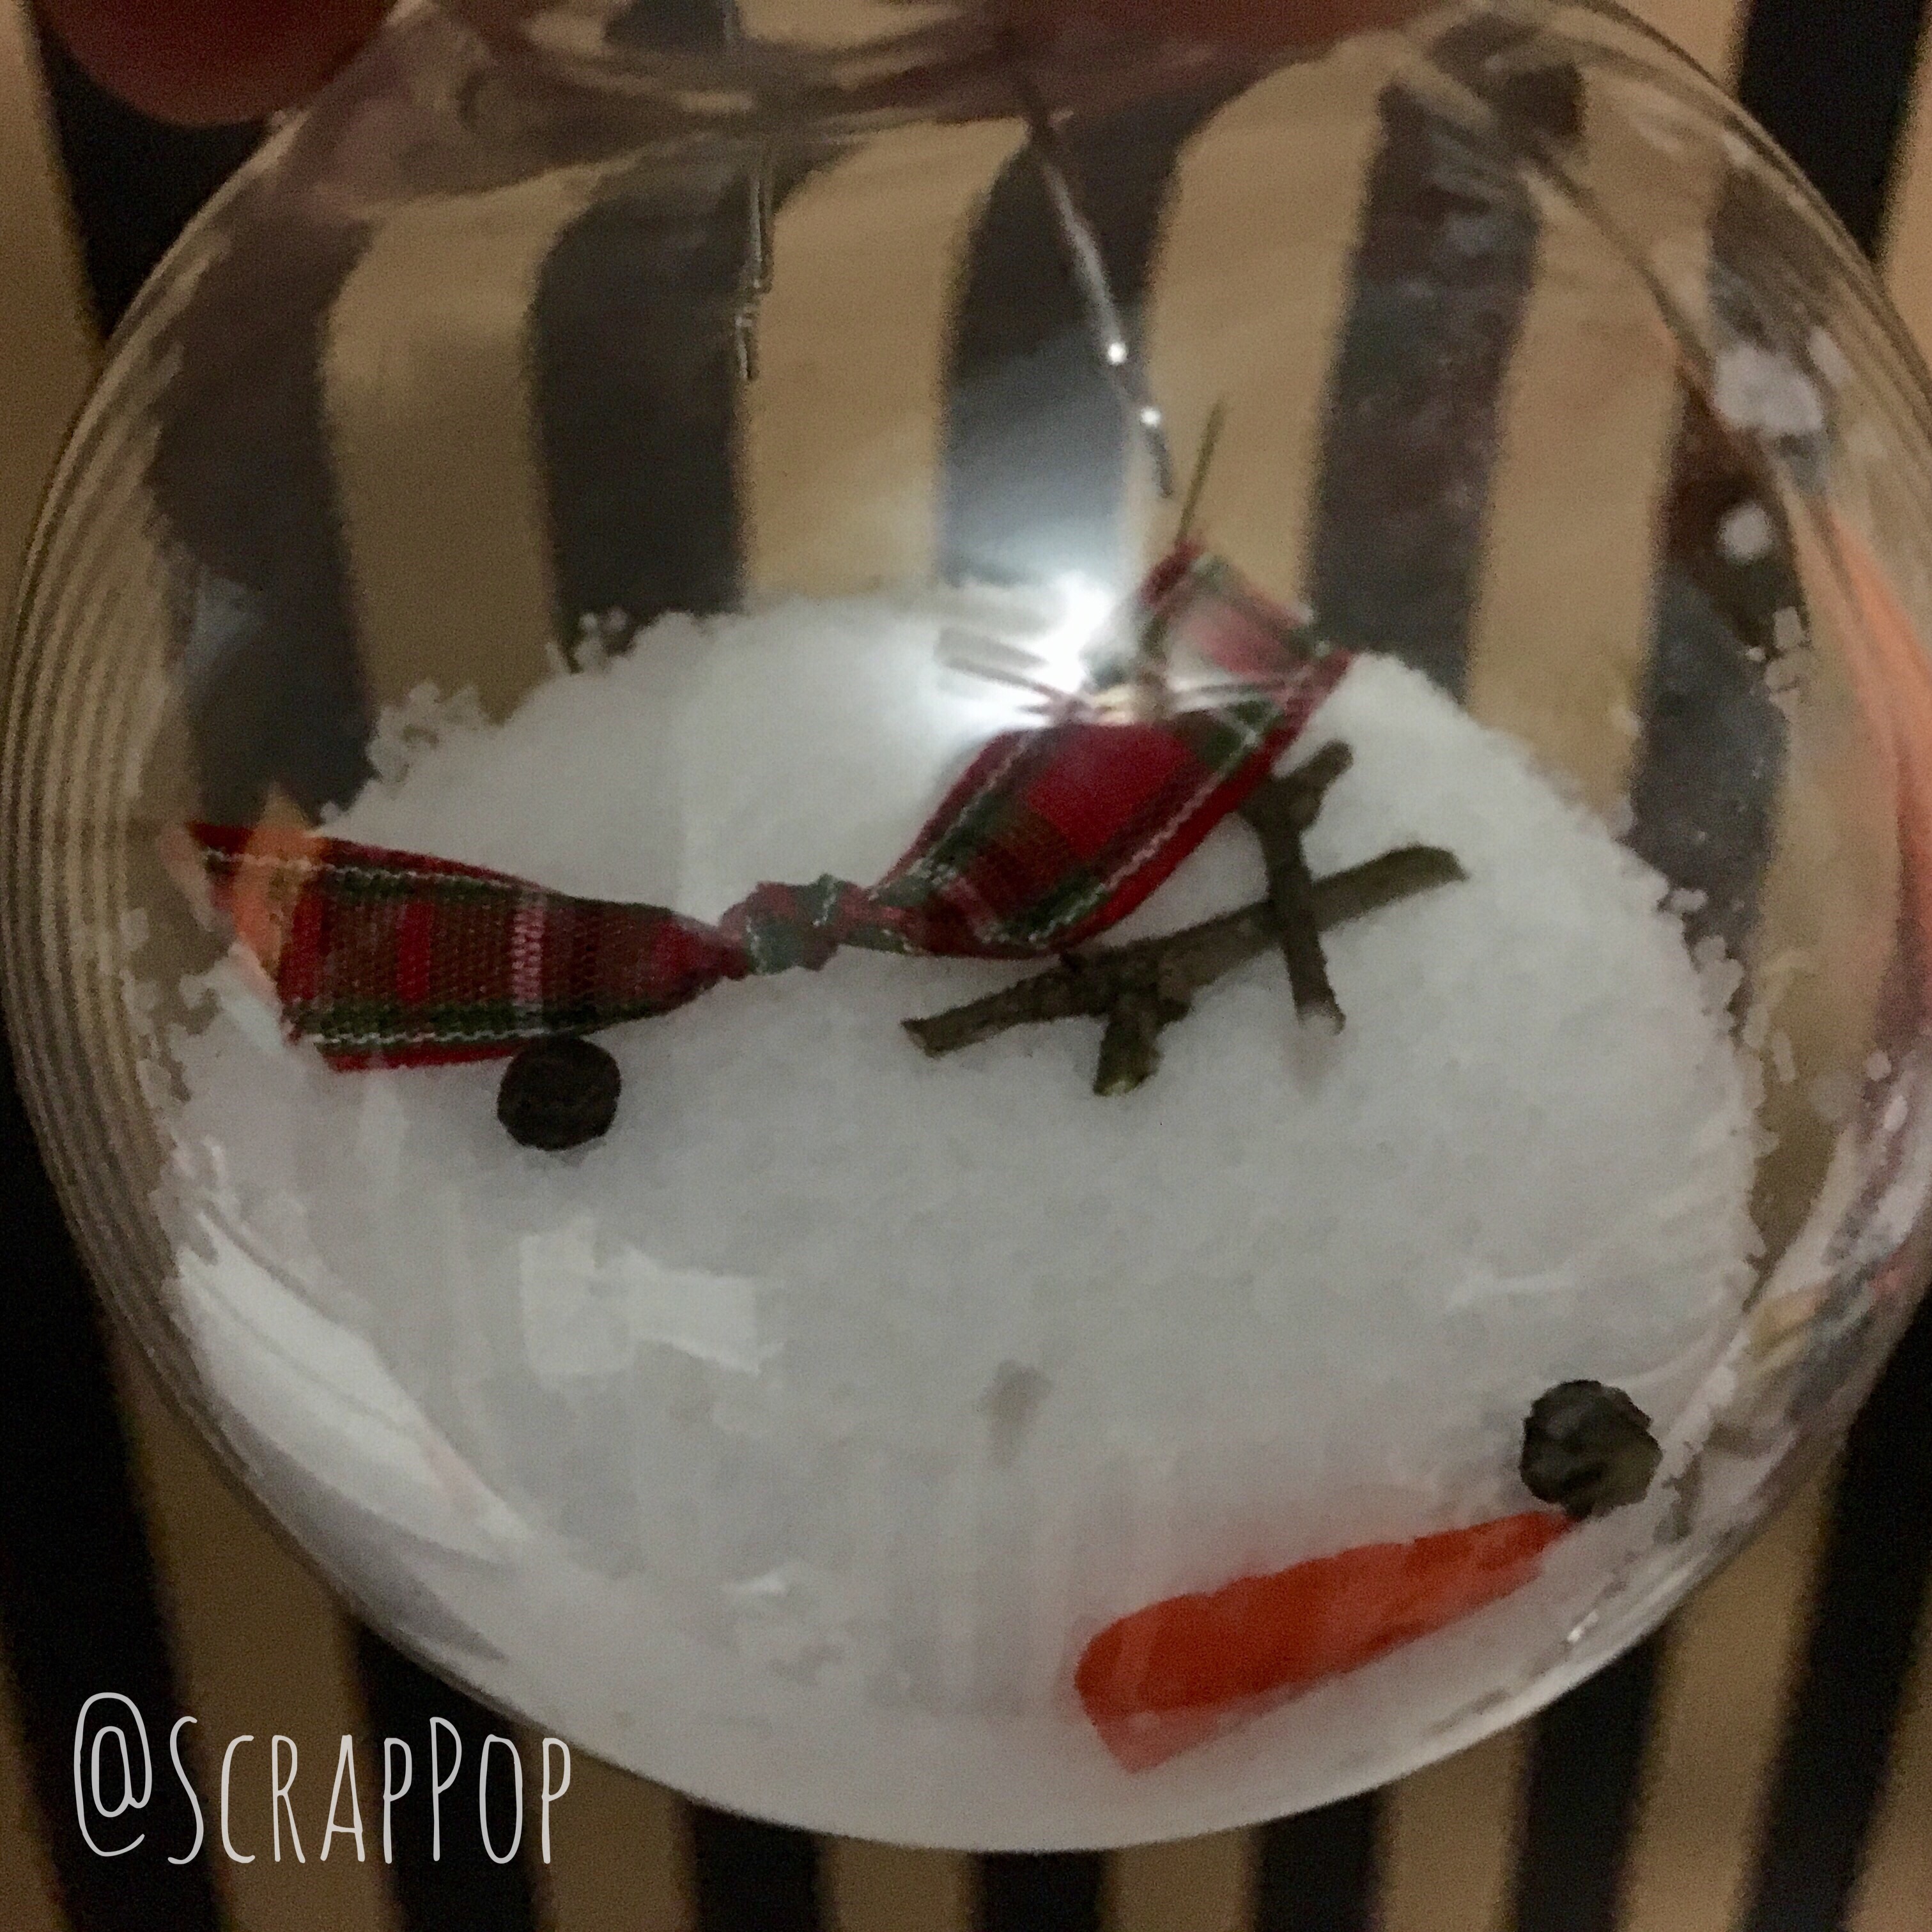
- Eyes: 2 Peppercorn
- Arms: 2 tiny twigs cut from a bare bush in our yard
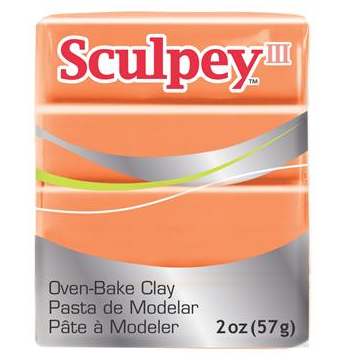
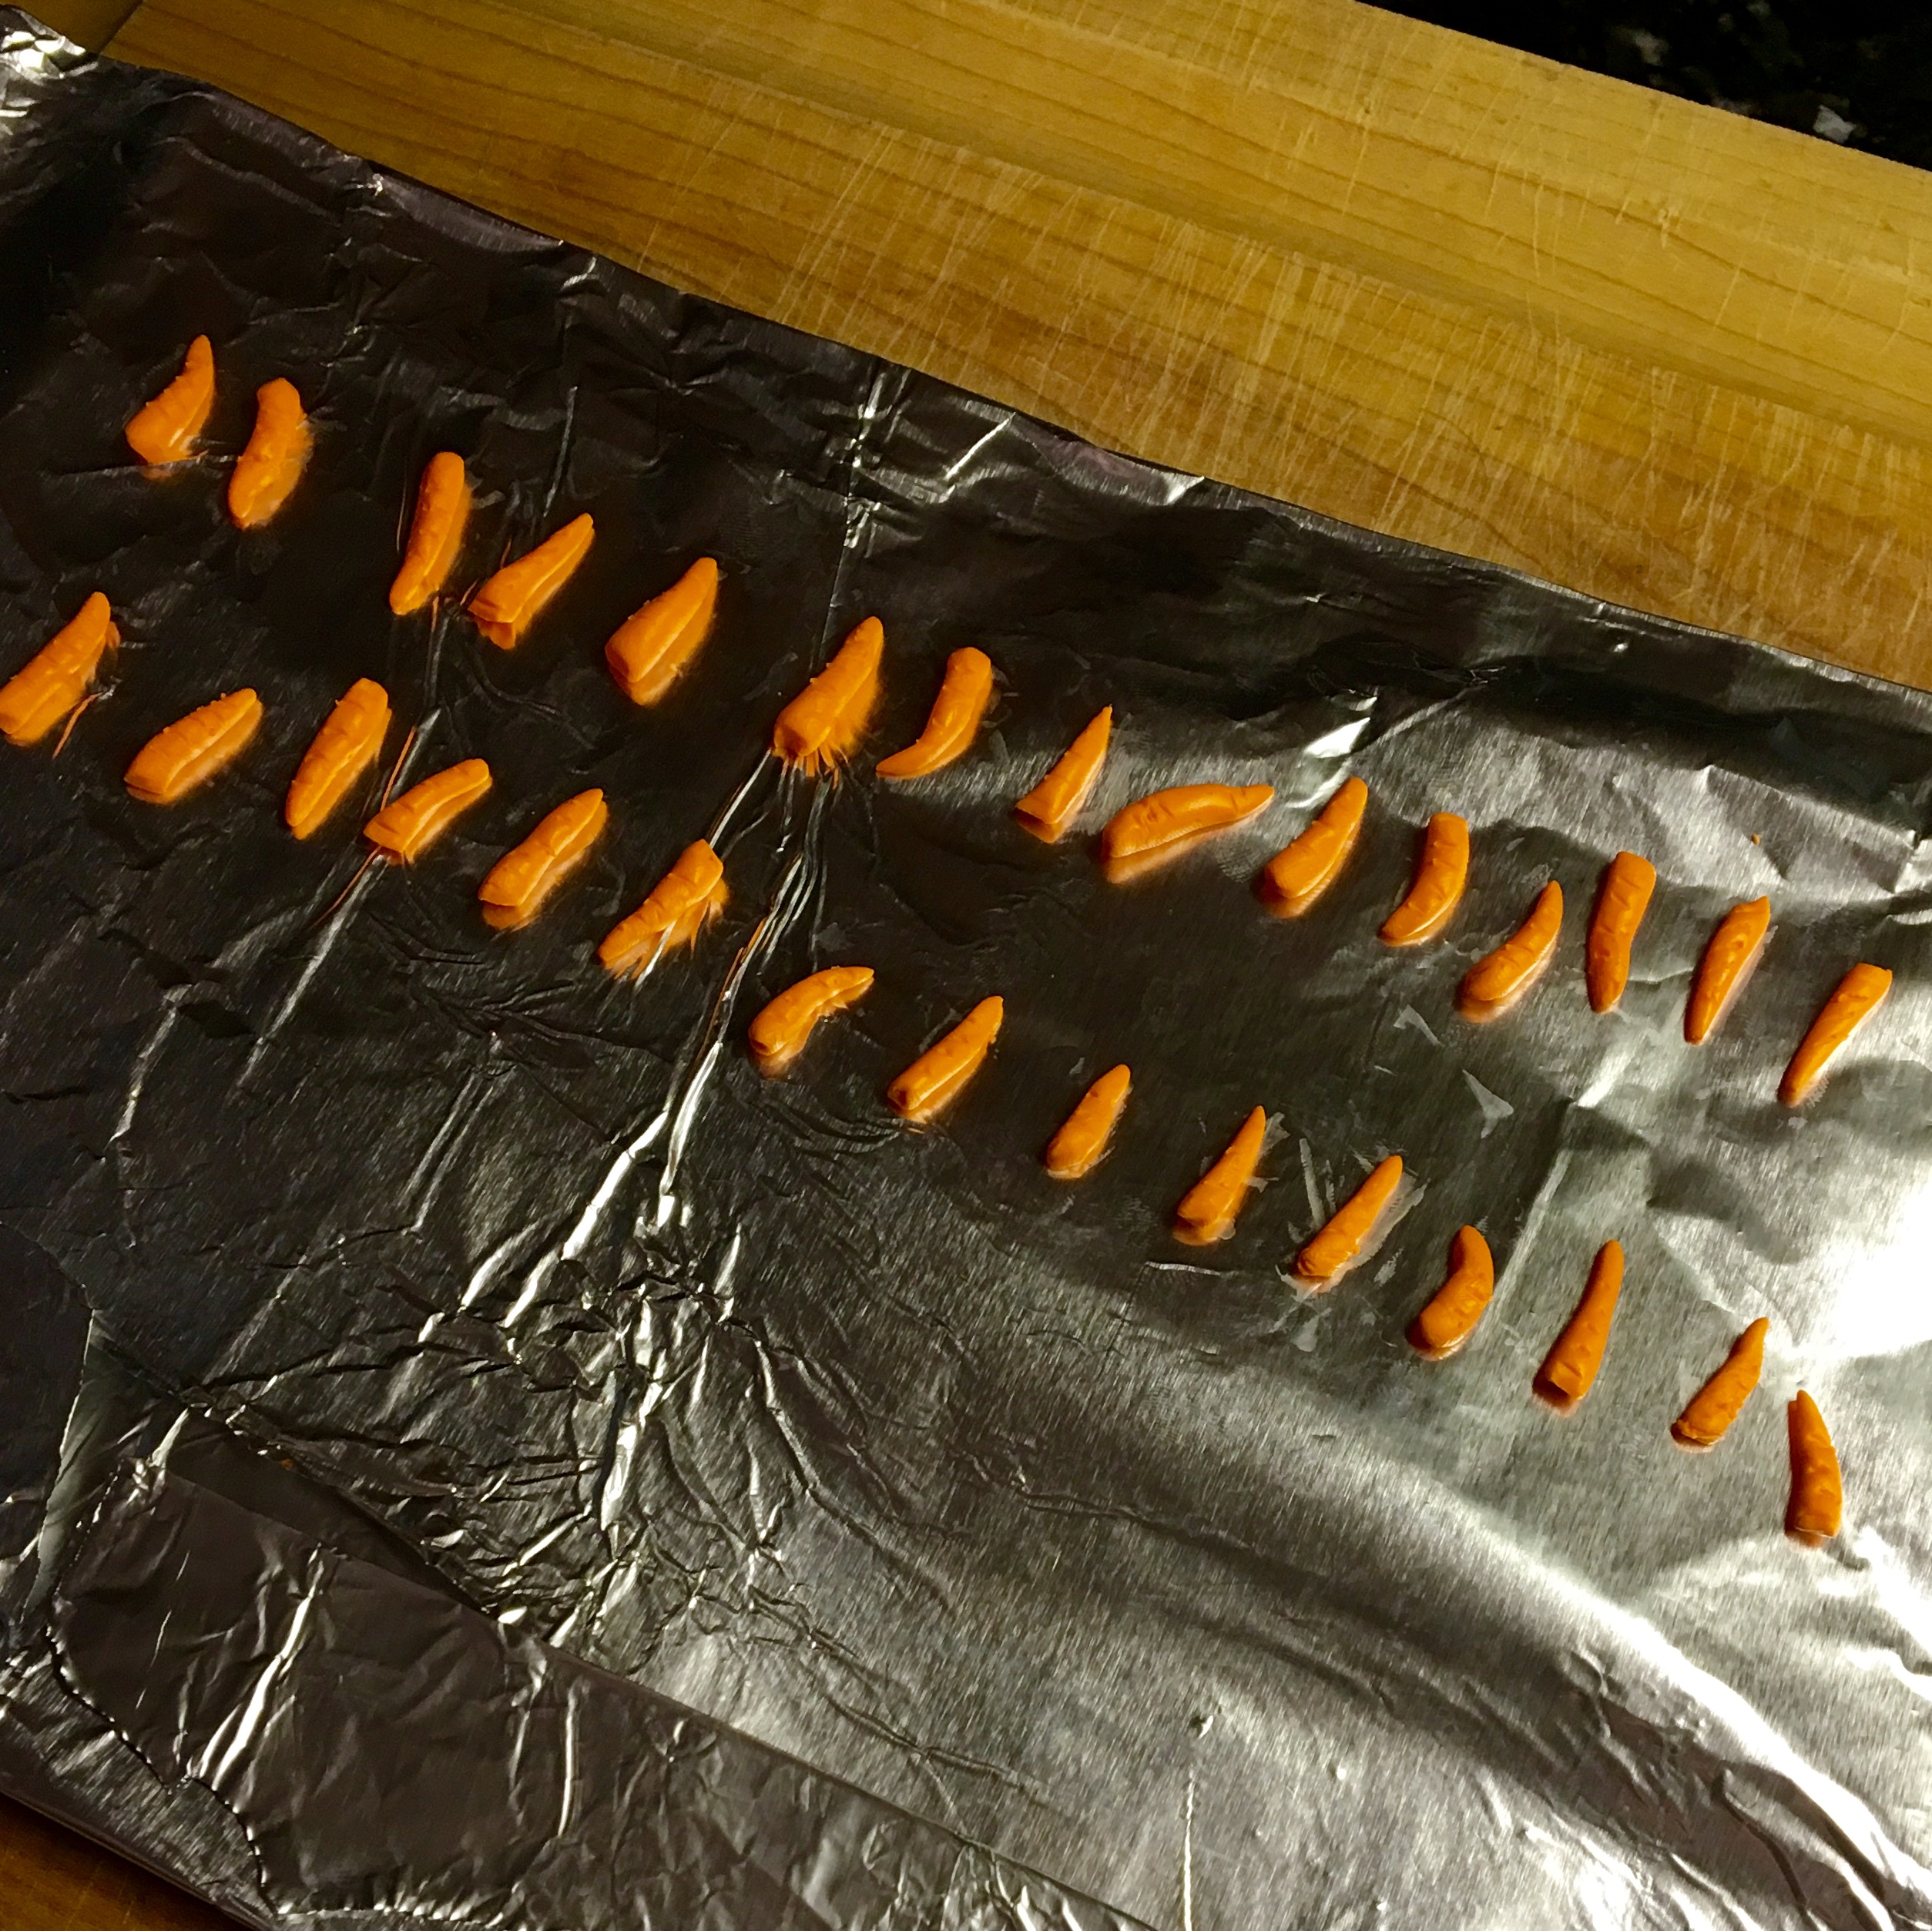
- Nose: Small orange clay nose shaped like a carrot, or you could use construction paper, a bead, color a stick..etc.
- Scarf: Small piece of ribbon knotted to look like a scarf
- Hanger: Small piece of ribbon to hang your ornament from the tree.
- Tag: We used a small piece of paper with a hole punched in to add the year and artists name.
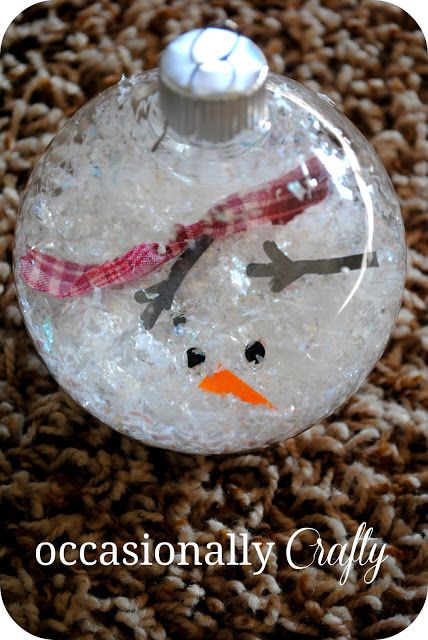
Looking at my pinspiration photo, below, I did see they created their ornament using slightly different ingredients which also look adorable and you probably already have at home, fake snow ribbon and construction paper pieces. There is no RIGHT way or wrong way to build a snowman so get CREATIVE!
To keep it simple and virtually mess-free, I separated the ingredients into separate stations (bowls). Each kid then formed a line to walk their ornament through each station. Some started with salt, some started with snowman pieces.
One of the advantages to using salt and clay noses is that when you shake up the ornaments the snowman pieces always find their way to the top — I call that Science!
If you want to go the clay nose route, a little pre- craft prep is needed. I used Sculpey clay that I also purchased at Michaels ($1.30ish) It only took about 5 minutes to make all 30 clay noses by breaking off small pieces clay and rolling them into carrot shaped pieces. Simply then bake on low for 10 -12 minutes and let sit for another 10 to dry. I used my toaster oven!
Once all your pieces are added, you simply add your tag and hanger and you are ready to decorate the tree! As a parent looking to keep kids busy, you can certainly make the steps go as quickly as you would like, or take as long as you like. A few of the artists around here did enjoy taking some time with personalizing their tags.
Of course be sure to allow some time for shaking them up and trying to realign the pieces to make the perfect snowman face. It adds to the fun…. and certainly keeps ’em busy!
Listening: Family Mix Tape (CD) of Christmas Music featuring some NEW classics! (Billy Idol, Bare Naked Ladies, David Bowie, Taking Back Sunday, U2 and some real classics too)
Drinking: If only I was smart enough I might have spiked my hot chocolate!
Leave a Reply