Thanksgiving is one of my most favorite holidays because it’s typically filled with family, friends, food and napping. After planning and preparing the dinner, there typically aren’t any extra tasks that are required to celebrate the holiday.
This year, however, I got a request out of left field that threw me into a Turkey Day tizzy. My son volunteered to be in the Thanksgiving play. In my head, I thought they’d pass out pilgrim hats or feather head bands and call it a day. I already had 2 out of the 3 of those covered by making hats for Lo’s 1st grade Thanksgiving feast so I was feeling pretty good (check out these cute DIY paper Pilgrim Hats and Pilgrim Bonnets you can make in a jiffy).

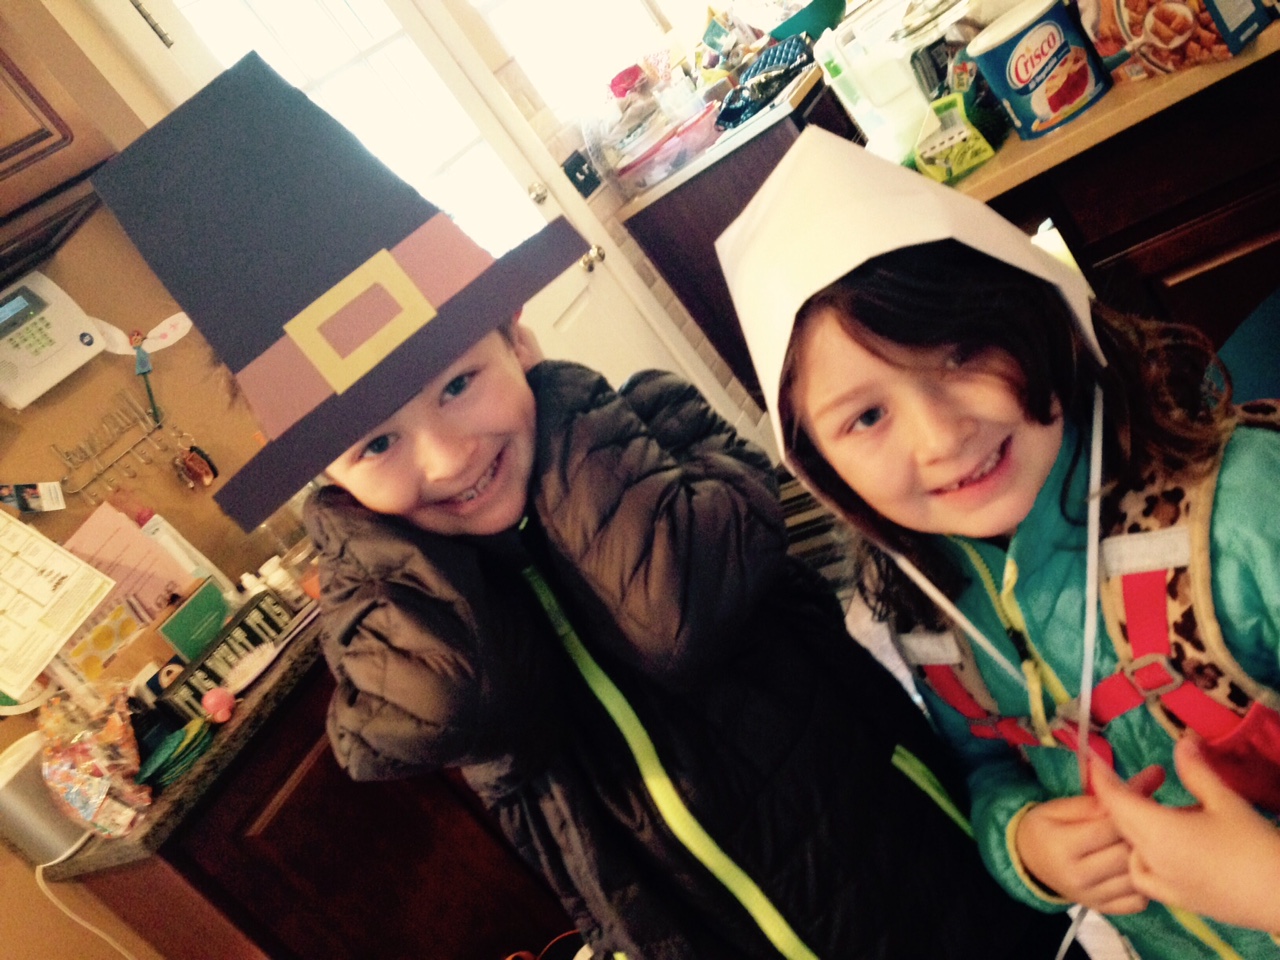
However, Shane just informed me that he needed a Native American COSTUME!! ACK!! First, I don’t sew – not a lick! Second, I totally don’t have enough time to get something delivered from Amazon Prime by tomorrow morning at 9:00 a.m. so I had to get to get creative.
In the spirit of the season, I am so thankful for…
- Pinterest – luckily there’s no shortage of no sew options (search “DIY Native American Boy Costume”)
- The person who invented fleece!
- Clearance aisle leather notions that make this costume look more “authentic” and less “teddy bear”
- Puffy paint I had left over from my Daisy Scout S’Mores Swap craft (post coming soon!)
- A proper pair of fabric scissors
- and Party City for having a few Native American headbands left
A couple of snips, a fold here and there, a dab of fabric glue, some extra Native American-esque symbols drawn in puffy paint and I feel like a Thanksgiving hero!
Supplies:
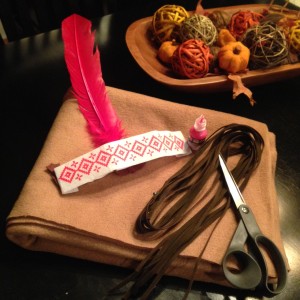
- 1 yard of brown fleece
- craft/fabric glue
- puffy paint, beads, ribbon, leather strips, belt – whatever you can find to decorate the tunic
- a good pair of fabric scissors
Method:
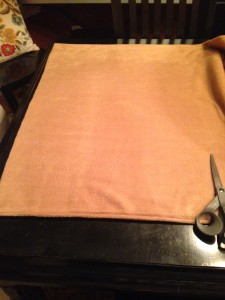
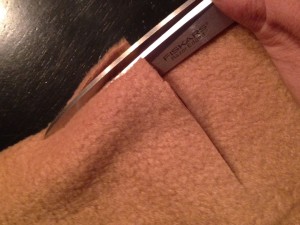
- Eyeball the width of your child and cut the fabric a little larger. Leave the fabric folded at the top so you have a double sided tunic.
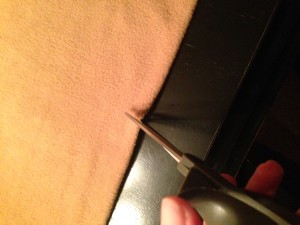
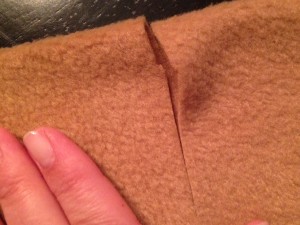
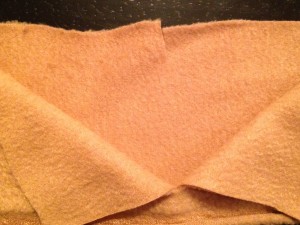
- At the folded edge, find the middle and make a small slit, then cut down a few inches through the top layer only; then cut 2-3 inches on each side of the middle line at the top fold; folding the front flaps down will create a neck hole and “collar”.
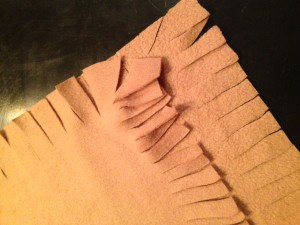
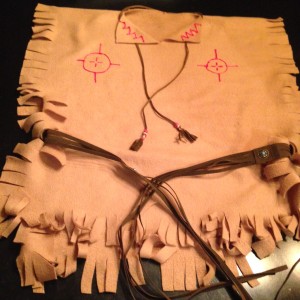
- Fit the tunic on your child and make a cut at the bottom so the tunic falls at the top of the legs – leave a little more length in the back. Remove the tunic and proceed to cut “fringe” around the bottom and both sides.
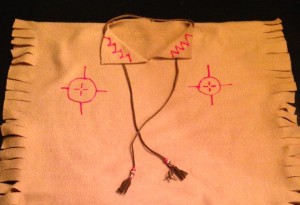
- Decorate the tunic with whatever notions you find; research Native American symbols and draw your own patterns with fabric/puffy paint.
- Tie a belt around the middle of the tunic, put on a headband and VOILA! Your child will represent the spirit and generosity of Native Americans at any event celebrating the First Thanksgiving.
Happy Thanksgiving to you all!
ChellePop
Listening to: Alabama Shakes station on Pandora
Drinking: Iced Green Tea from Starbucks, but wishing I was drinking copious amounts of red wine!
Leave a Reply