So, let this serve as your first and only warning: I am currently Disney Crazed. A year ago, my parents let us know that they would be taking the entire family (all 22 of us) to Disney World to celebrate their 40th anniversary. I immediately fell down the Pinterest rabbit hole (Pinhole) that is all things Disney…I may have a slight addiction….Departure Day is fast approaching, and I am in full on, balls out, no shame Disney Mode…with the arrival of the Silhouette Cameo, I am also in Put Vinyl on All The Things mode. Blah, Blah, Blah…show us what you made:
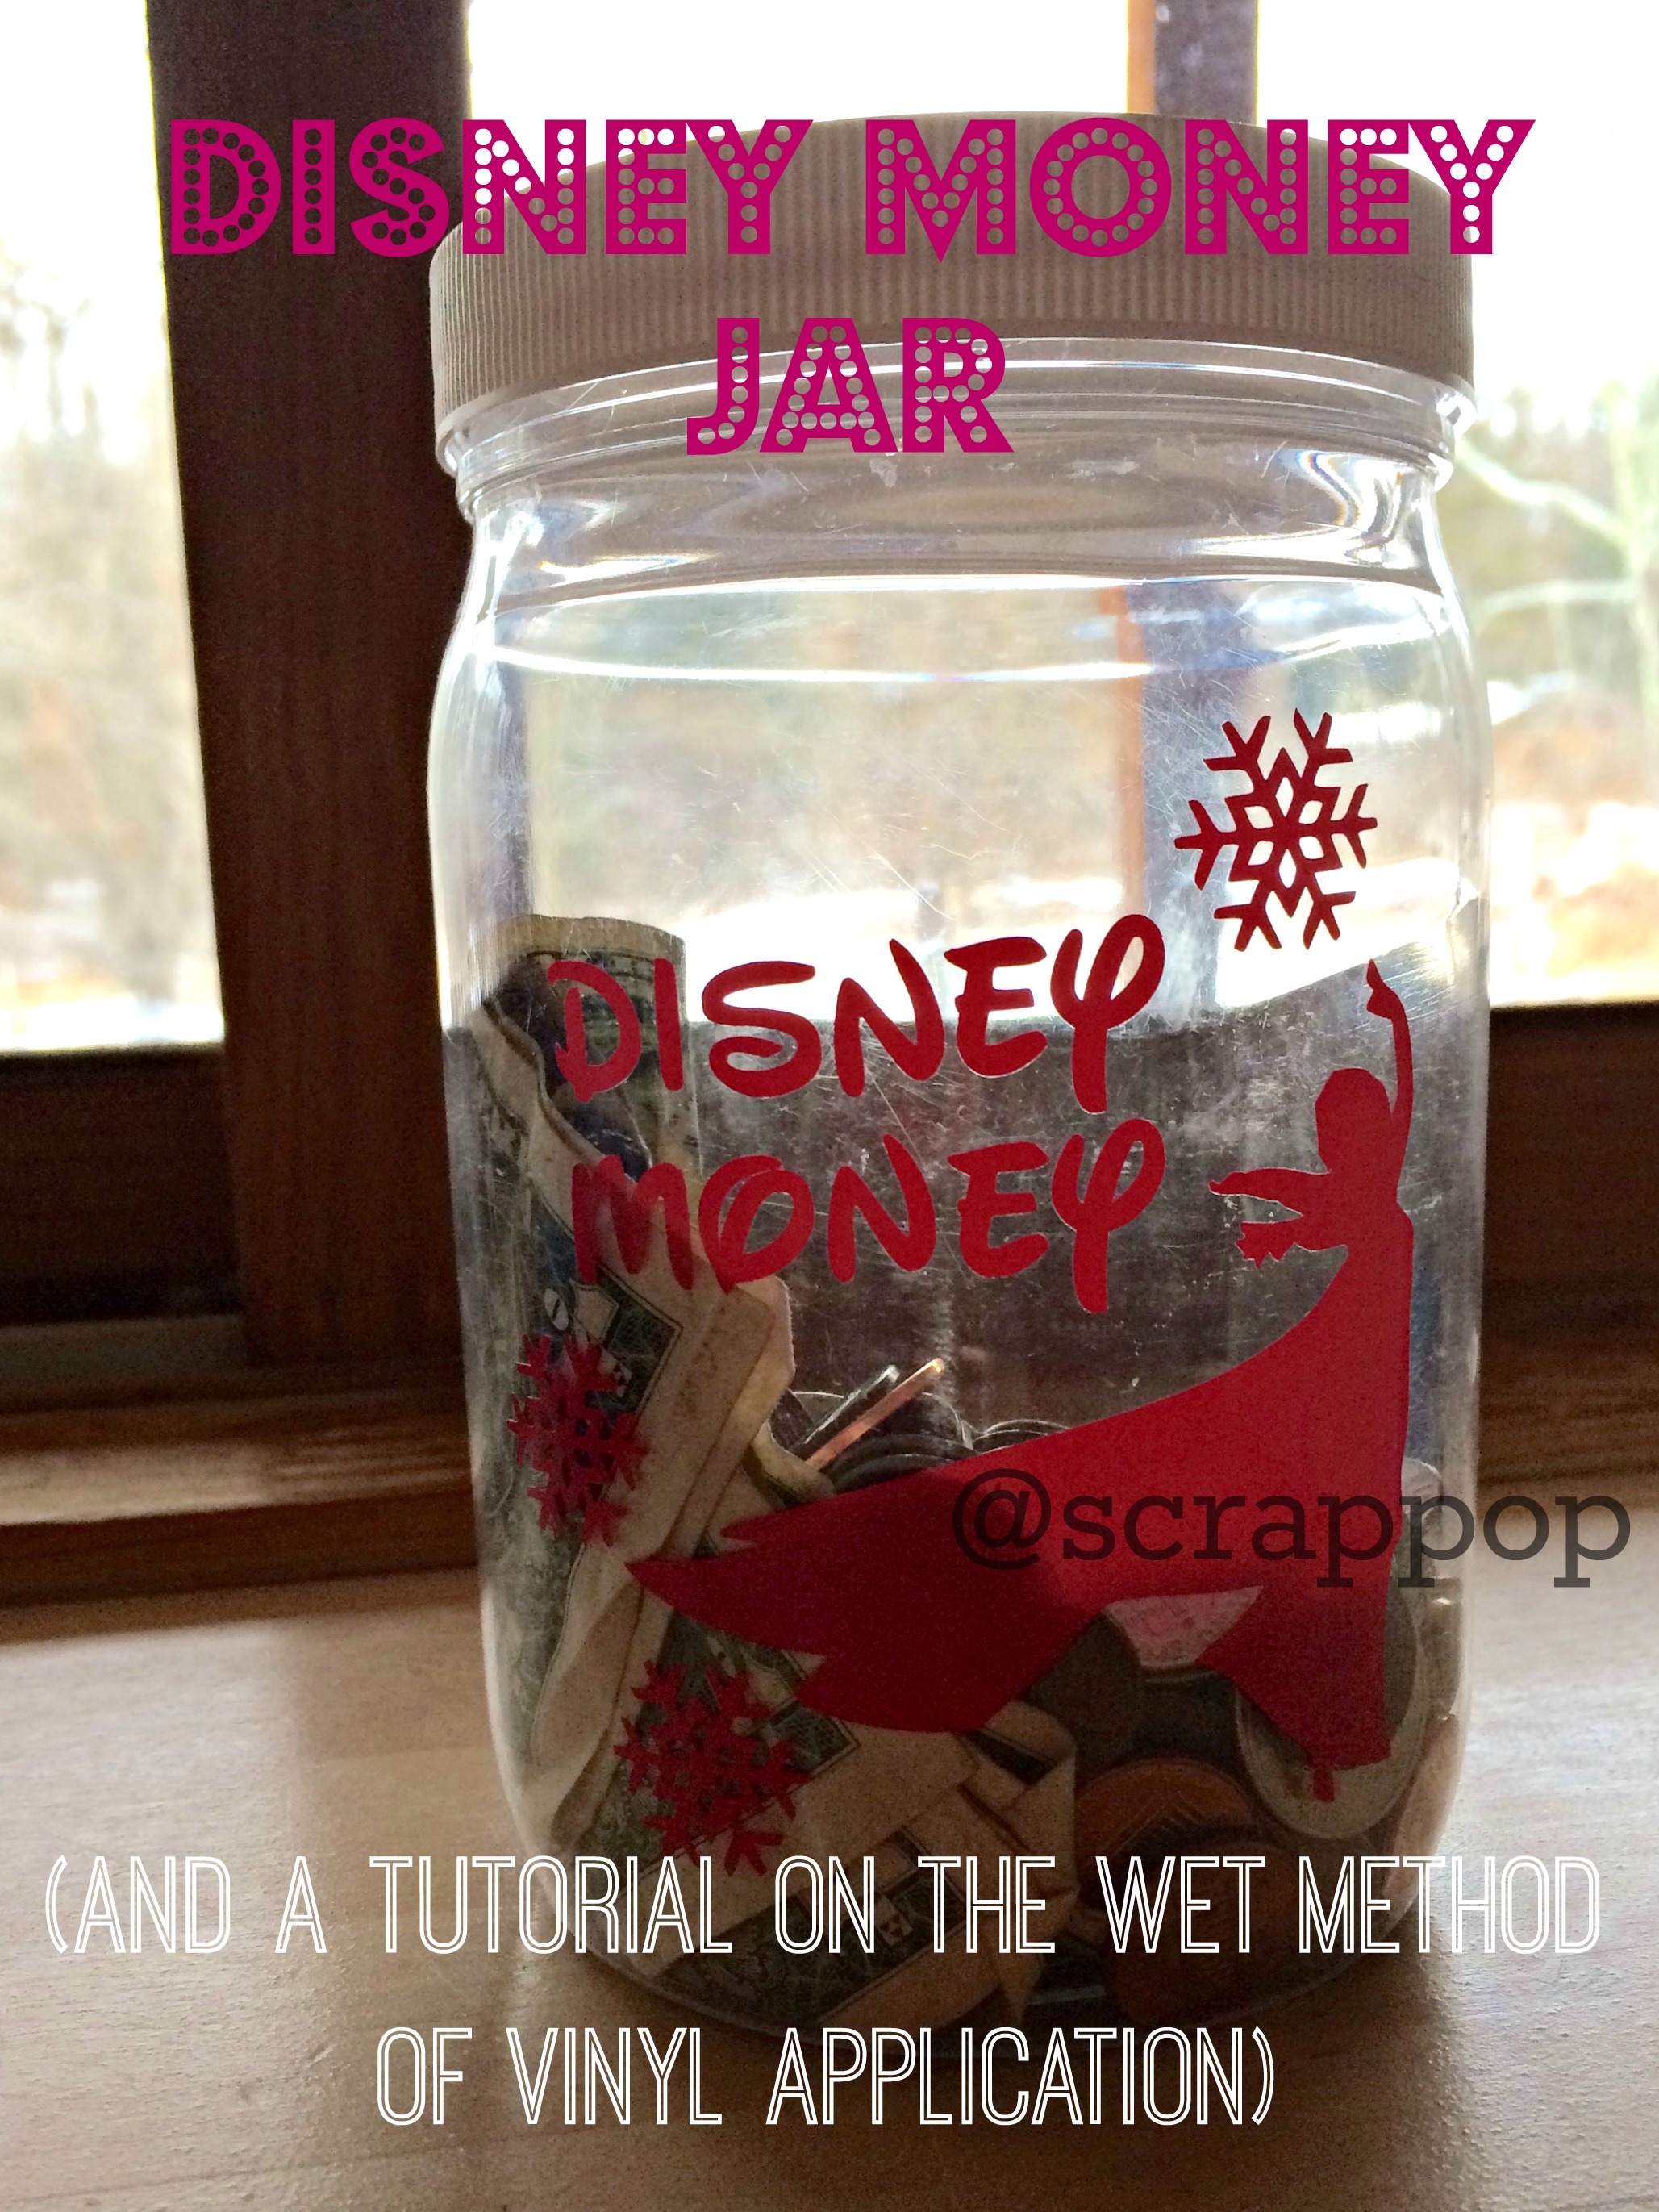
boom. Can I just brag on my kid? My daughter has been begging to go to Disney World since she started watching The Disney Channel in real time, and started seeing commercials for the place. We told her that it cost a lot of money to go, and that she needed to save her money up. The girl collected every stinking dime and penny to cross her path for months and put them in a mason jar. Cut to Christmas Eve Day, she finds out Poppy and Grama are taking us…she beelines for her room, grabs that jar and shoves it in my dad’s hands. “Here you go, Poppy. I’ve been saving for this!” So? Parenting WIN!
Well, a girl that awesome needs an awesome money jar. Since I must vinyl ALL THE THINGS, we headed to the craft room. I used the wet method for applying vinyl that leaves you without any pesky bubbles! Here’s how I did it…
First, you will need to design and cut your images and weed them. (I’m just going to assume you know how to do that. If not, get Siri or google to help you out)
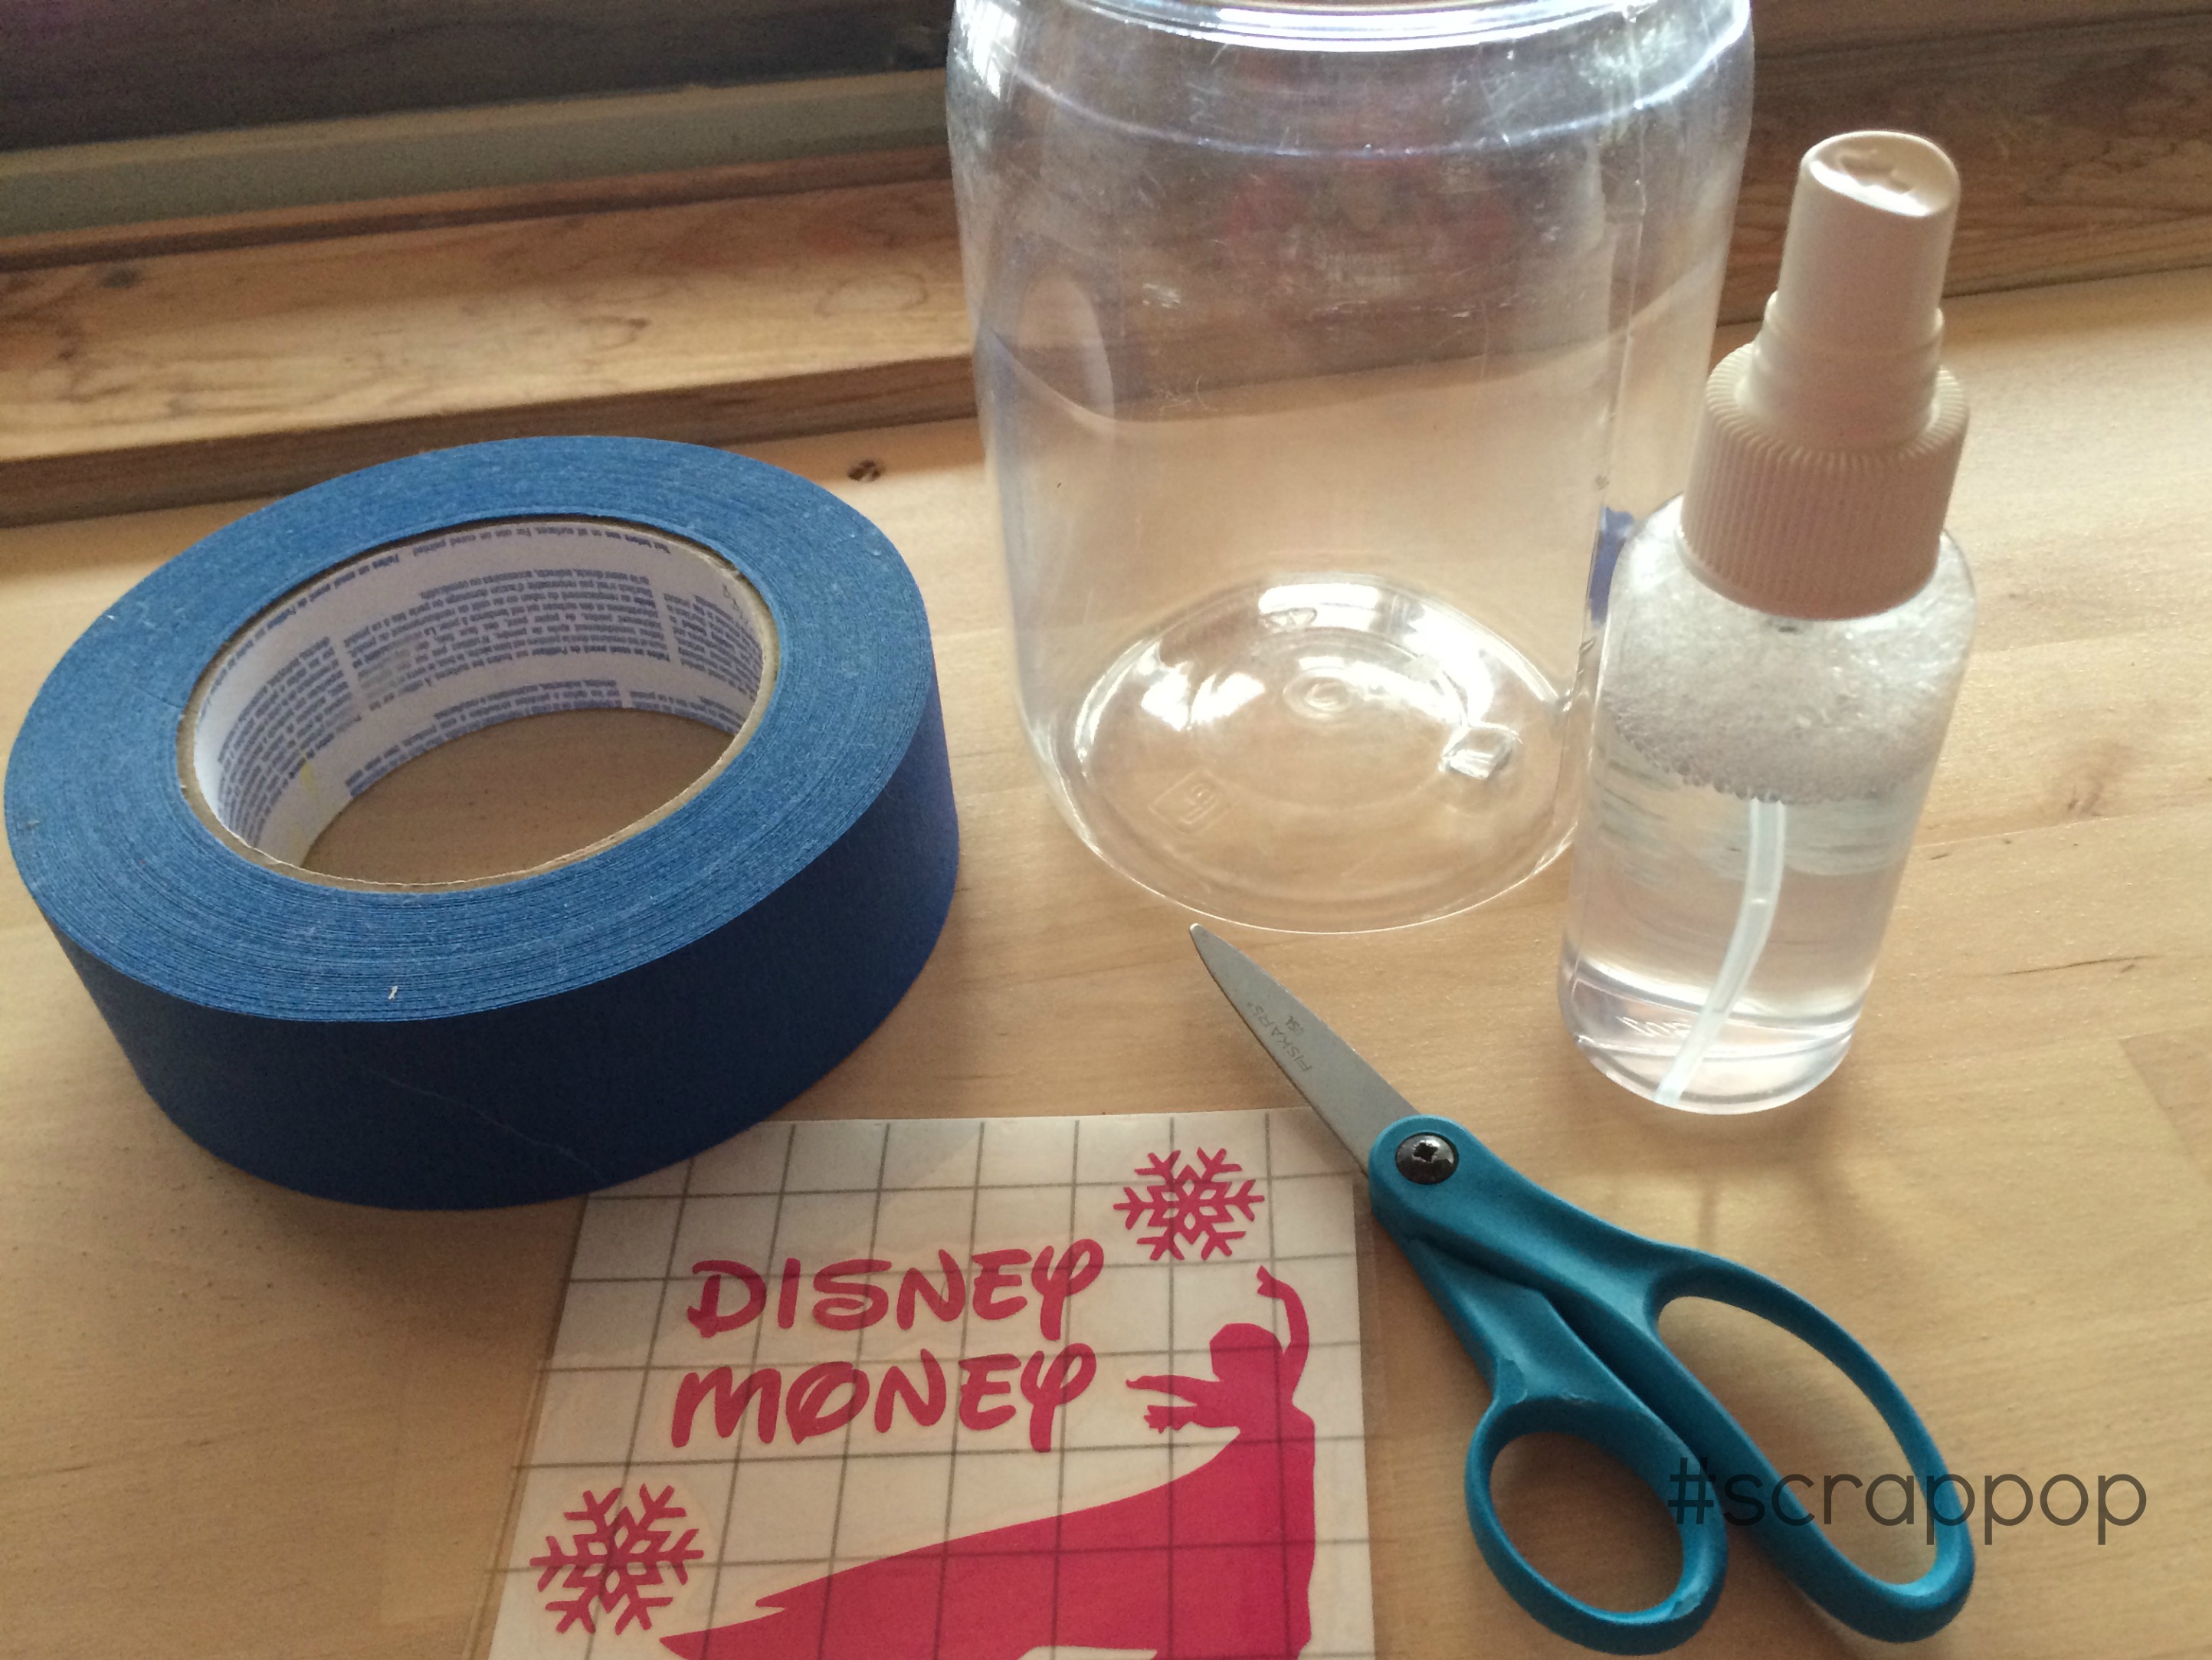
Supplies:
- A design cut, weeded, and applied to transfer tape
- painters tape
- scissors
- spray bottle with water and a few drops dish soap
- paper towels
- something to put it on (in this case, and old jar)

Step 1: Use the painters tape to create a “hinge” on your surface.

Step 2: Next separate the backing from the transfer tape, and cut the backing away.
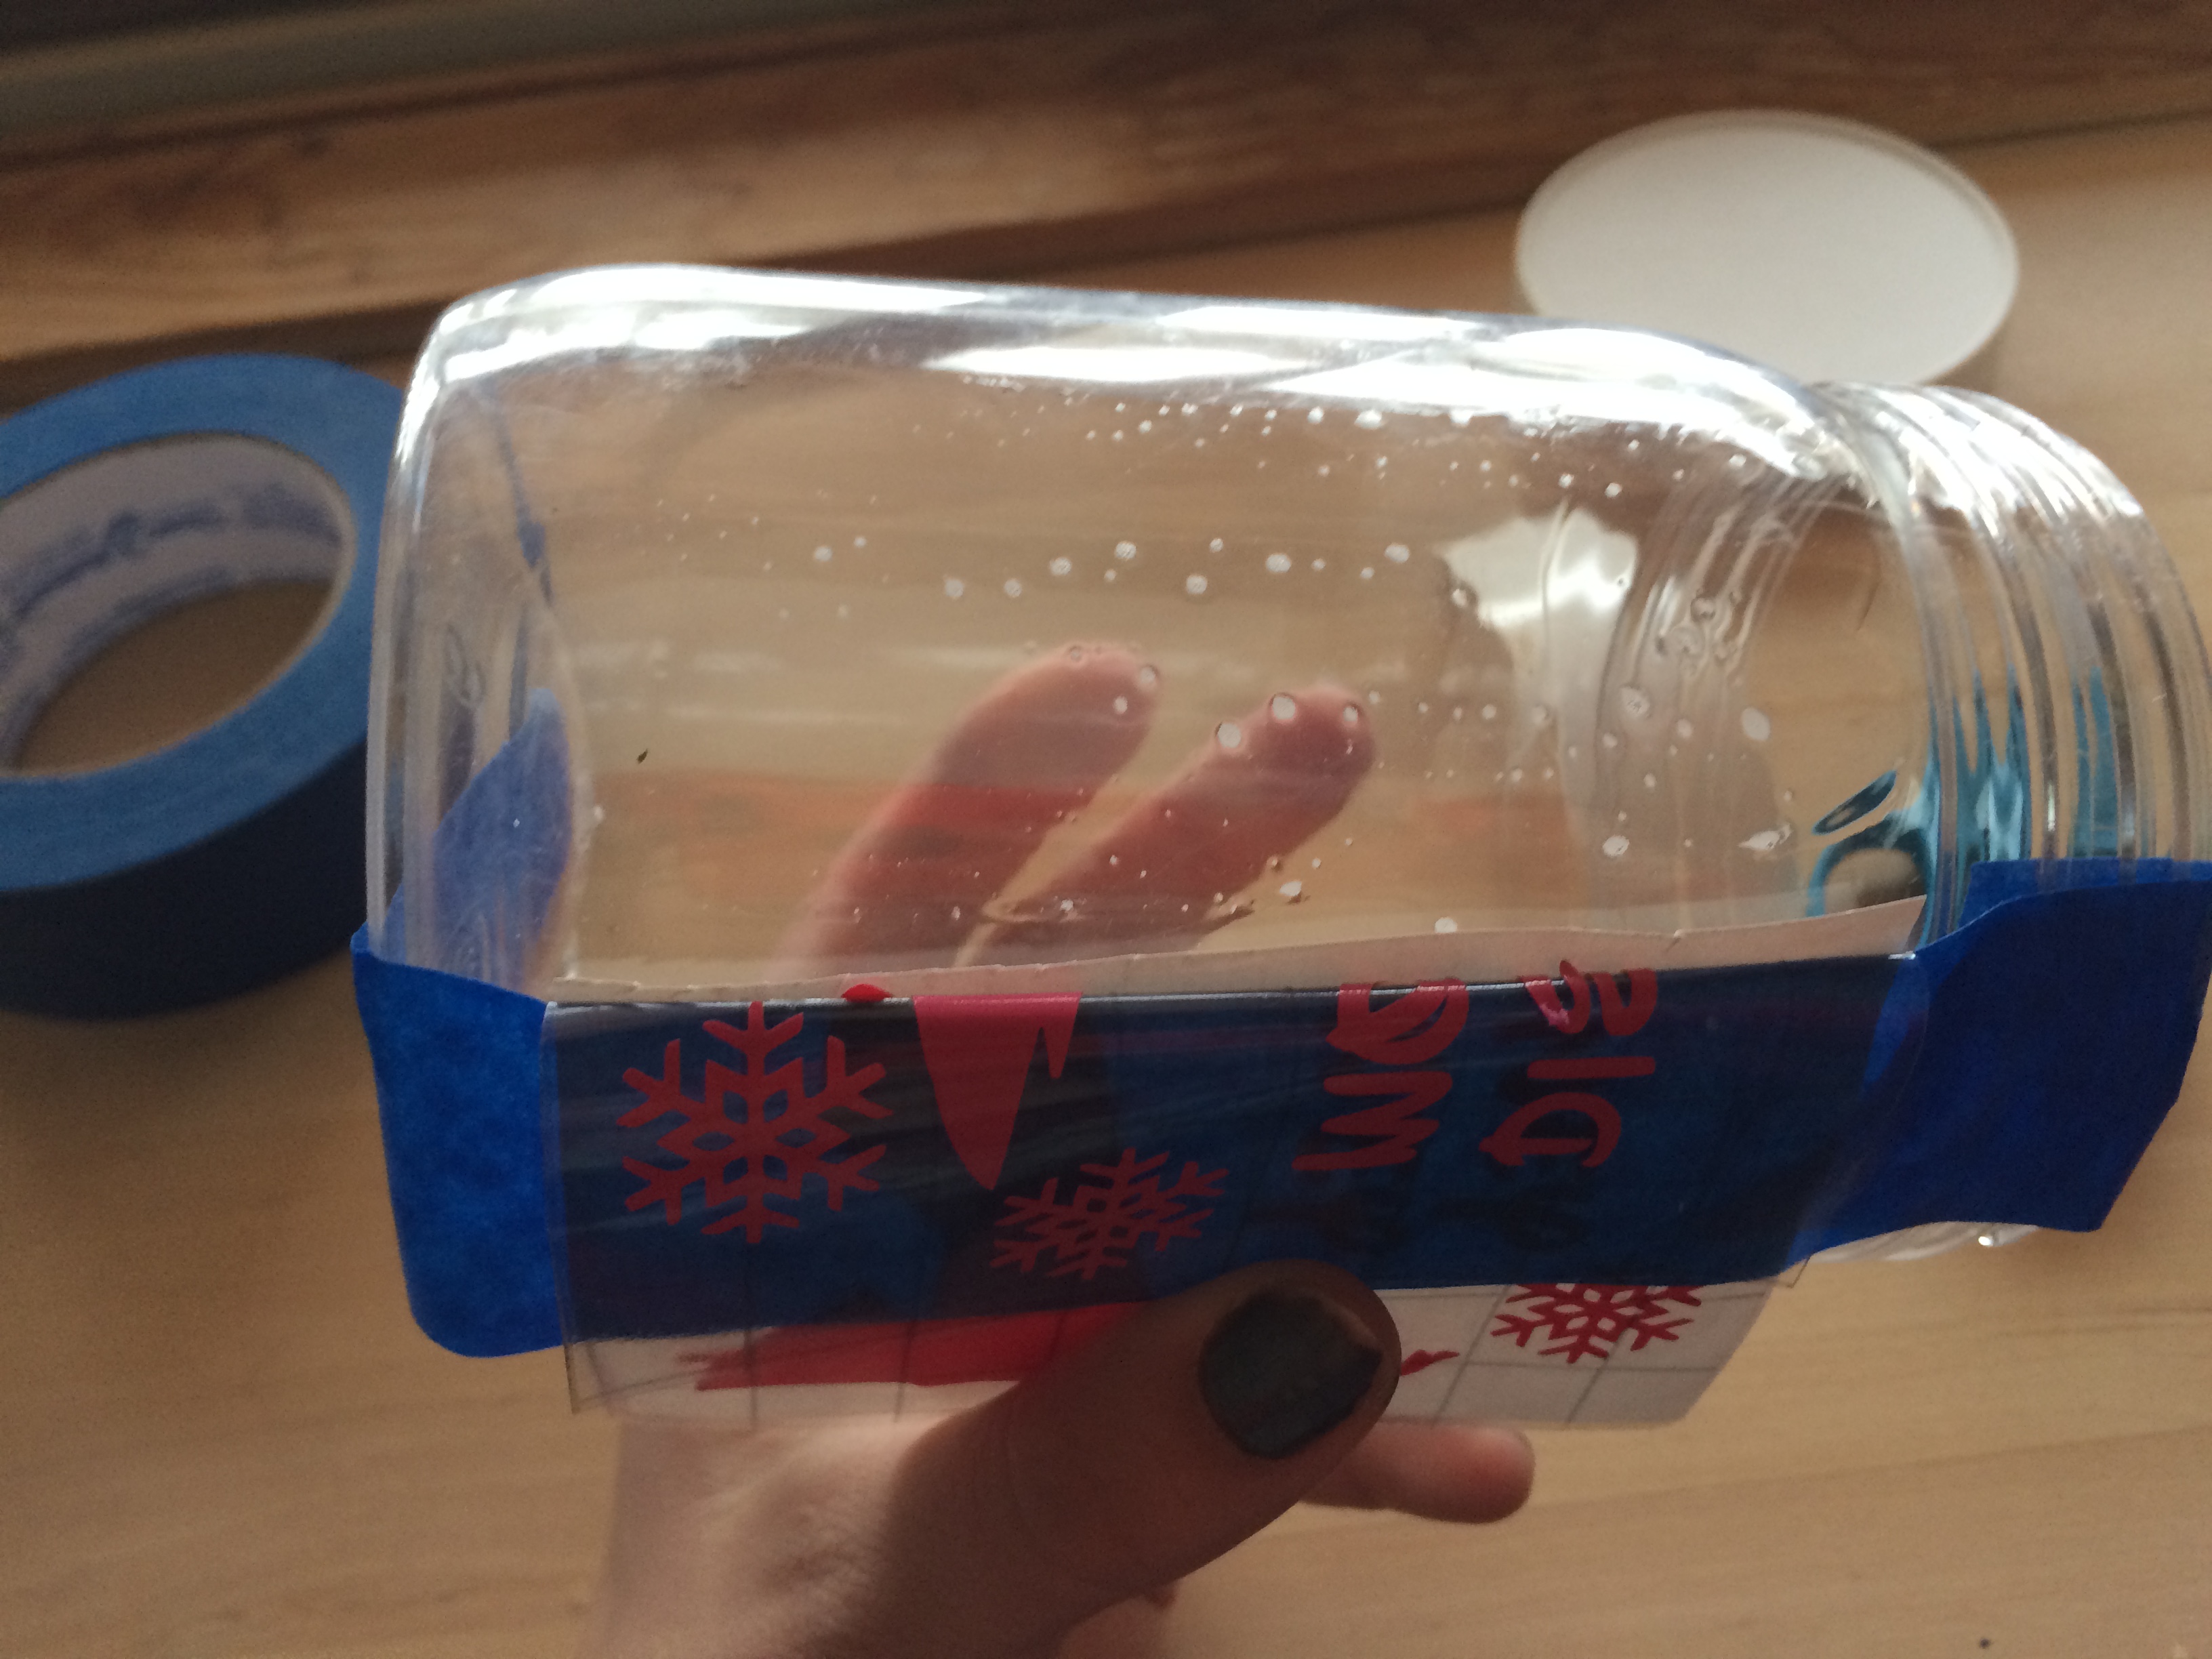
Step 3: Spray your surface lightly with your solution. (please pay no mind to my chipped polish)

Step 4: Place the transfer tape an vinyl back down.
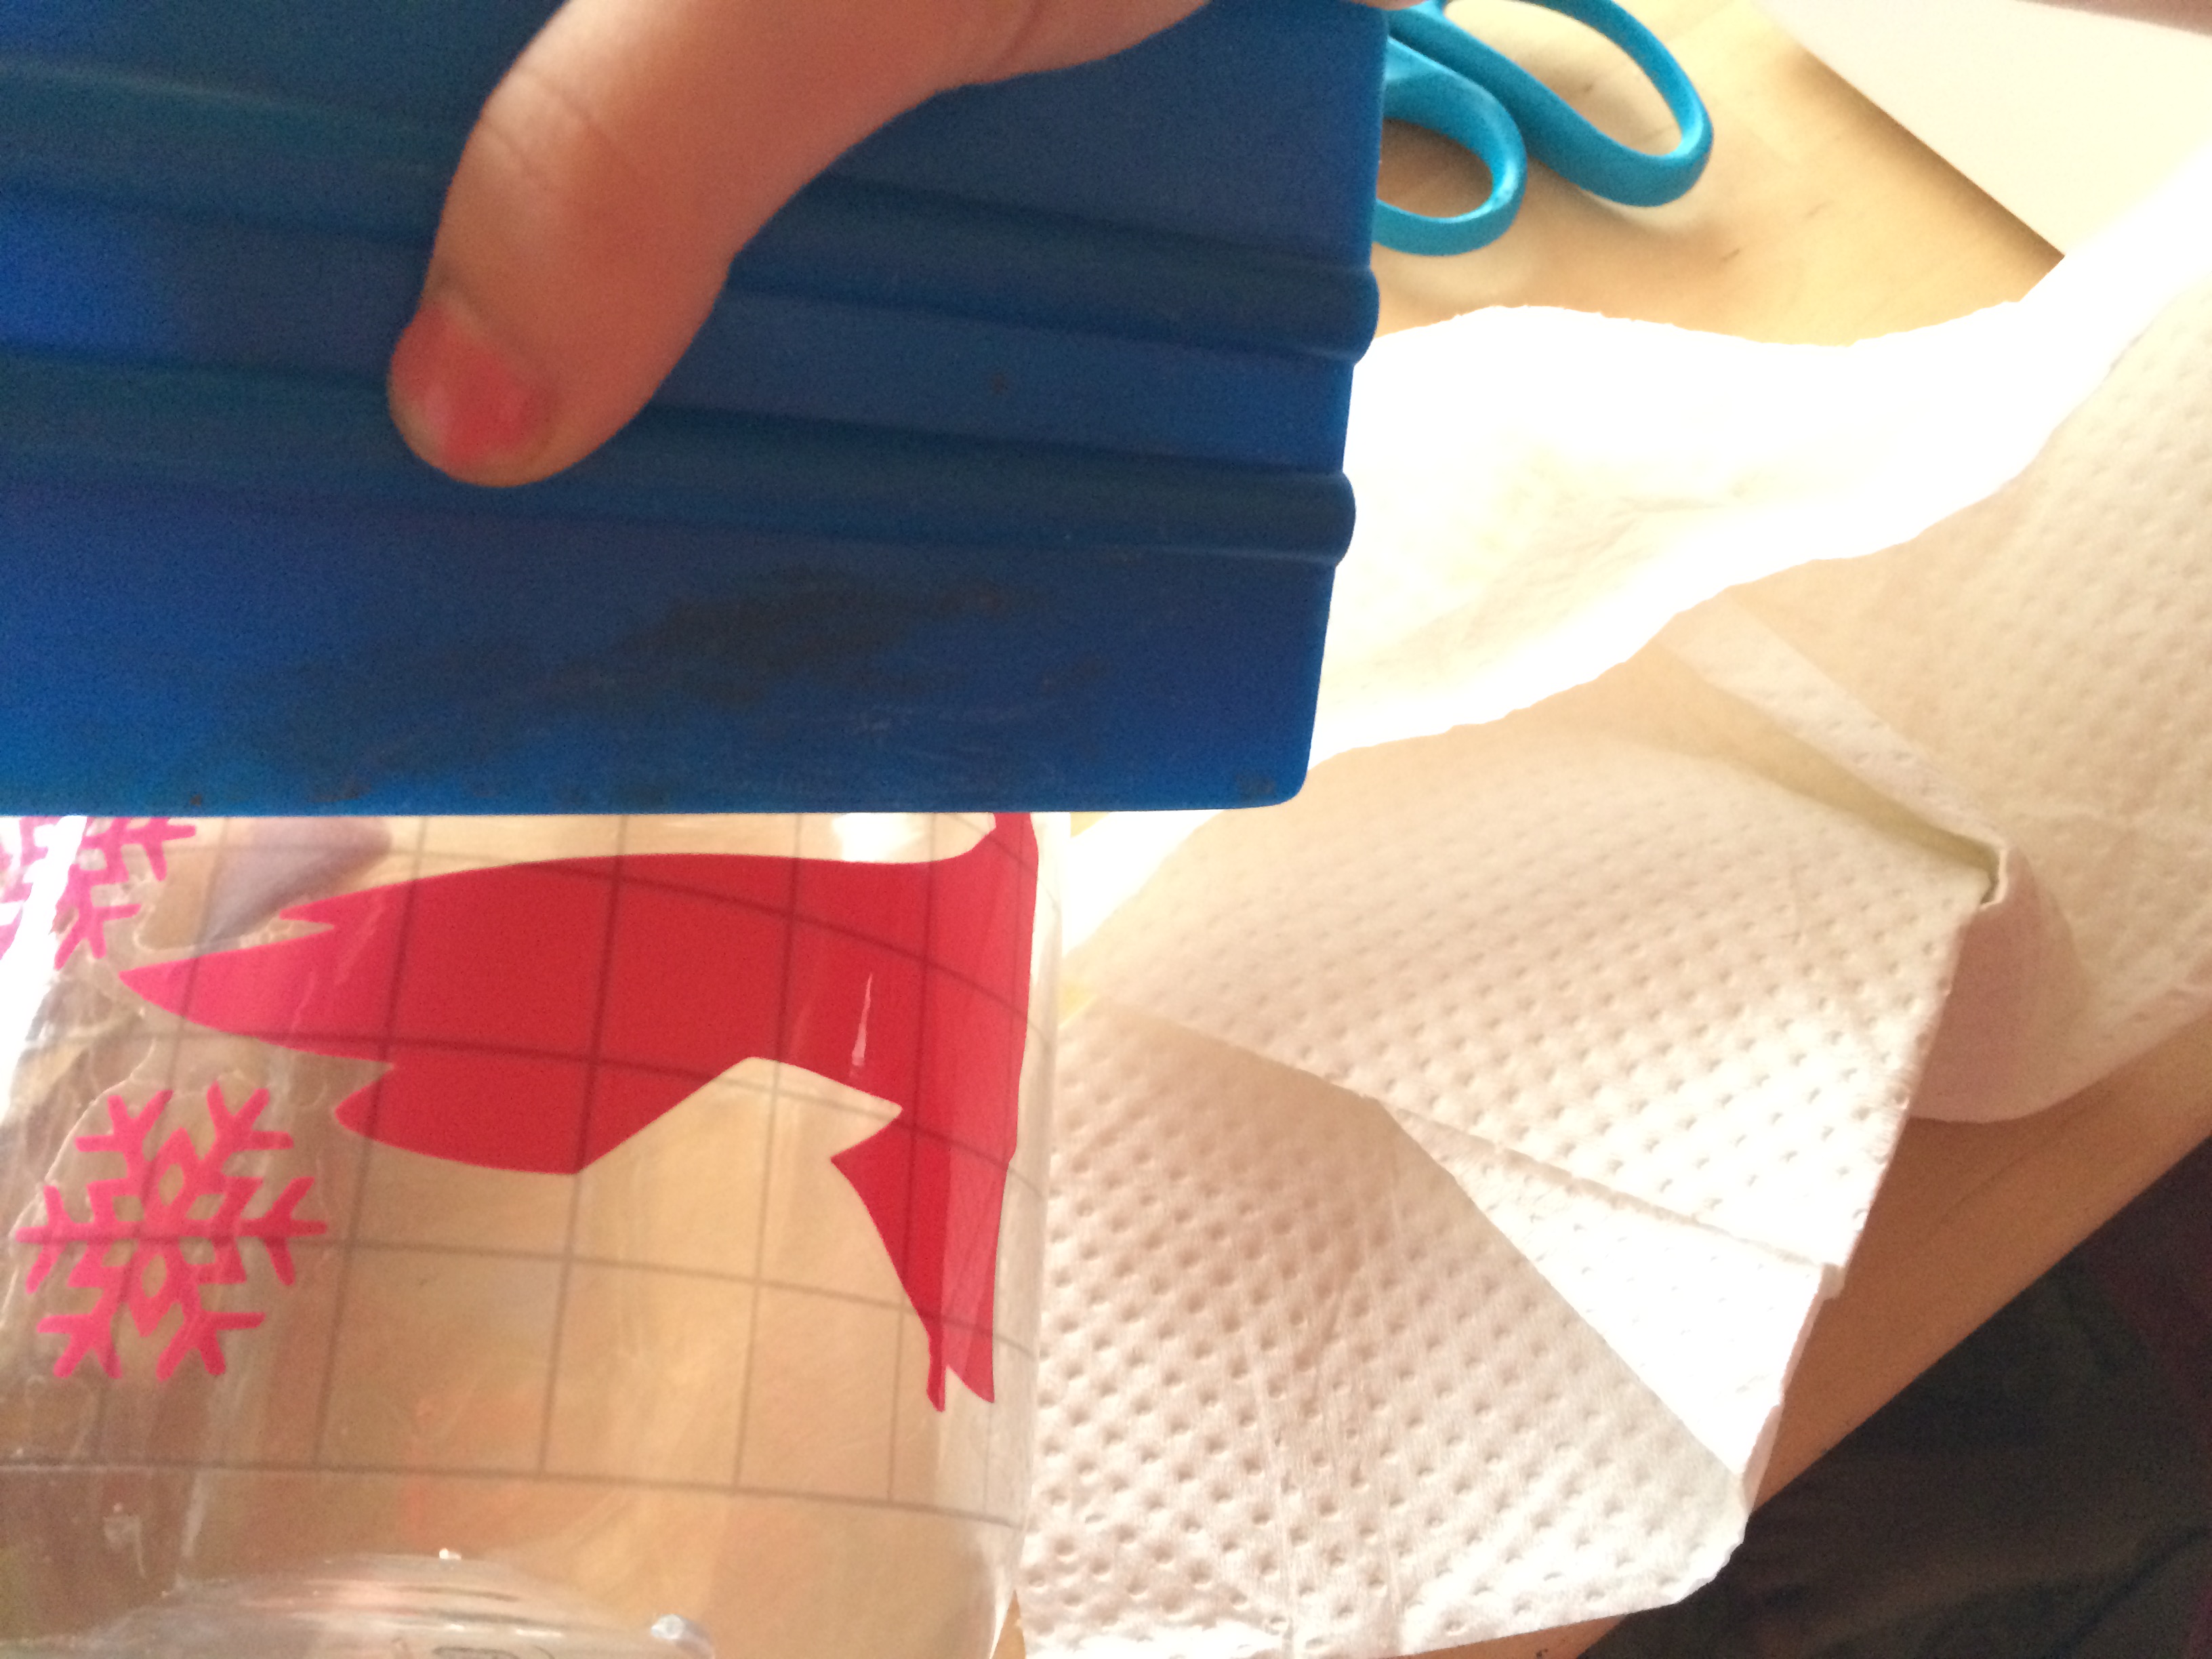
Step 5: Smooth, smooth, smooth smoooooooth out the water and bubbles. Wipe away water with paper towels (also have your five year old hold your smoothing tool so you can snap a pic…and apparently, chipped polish is genetic)
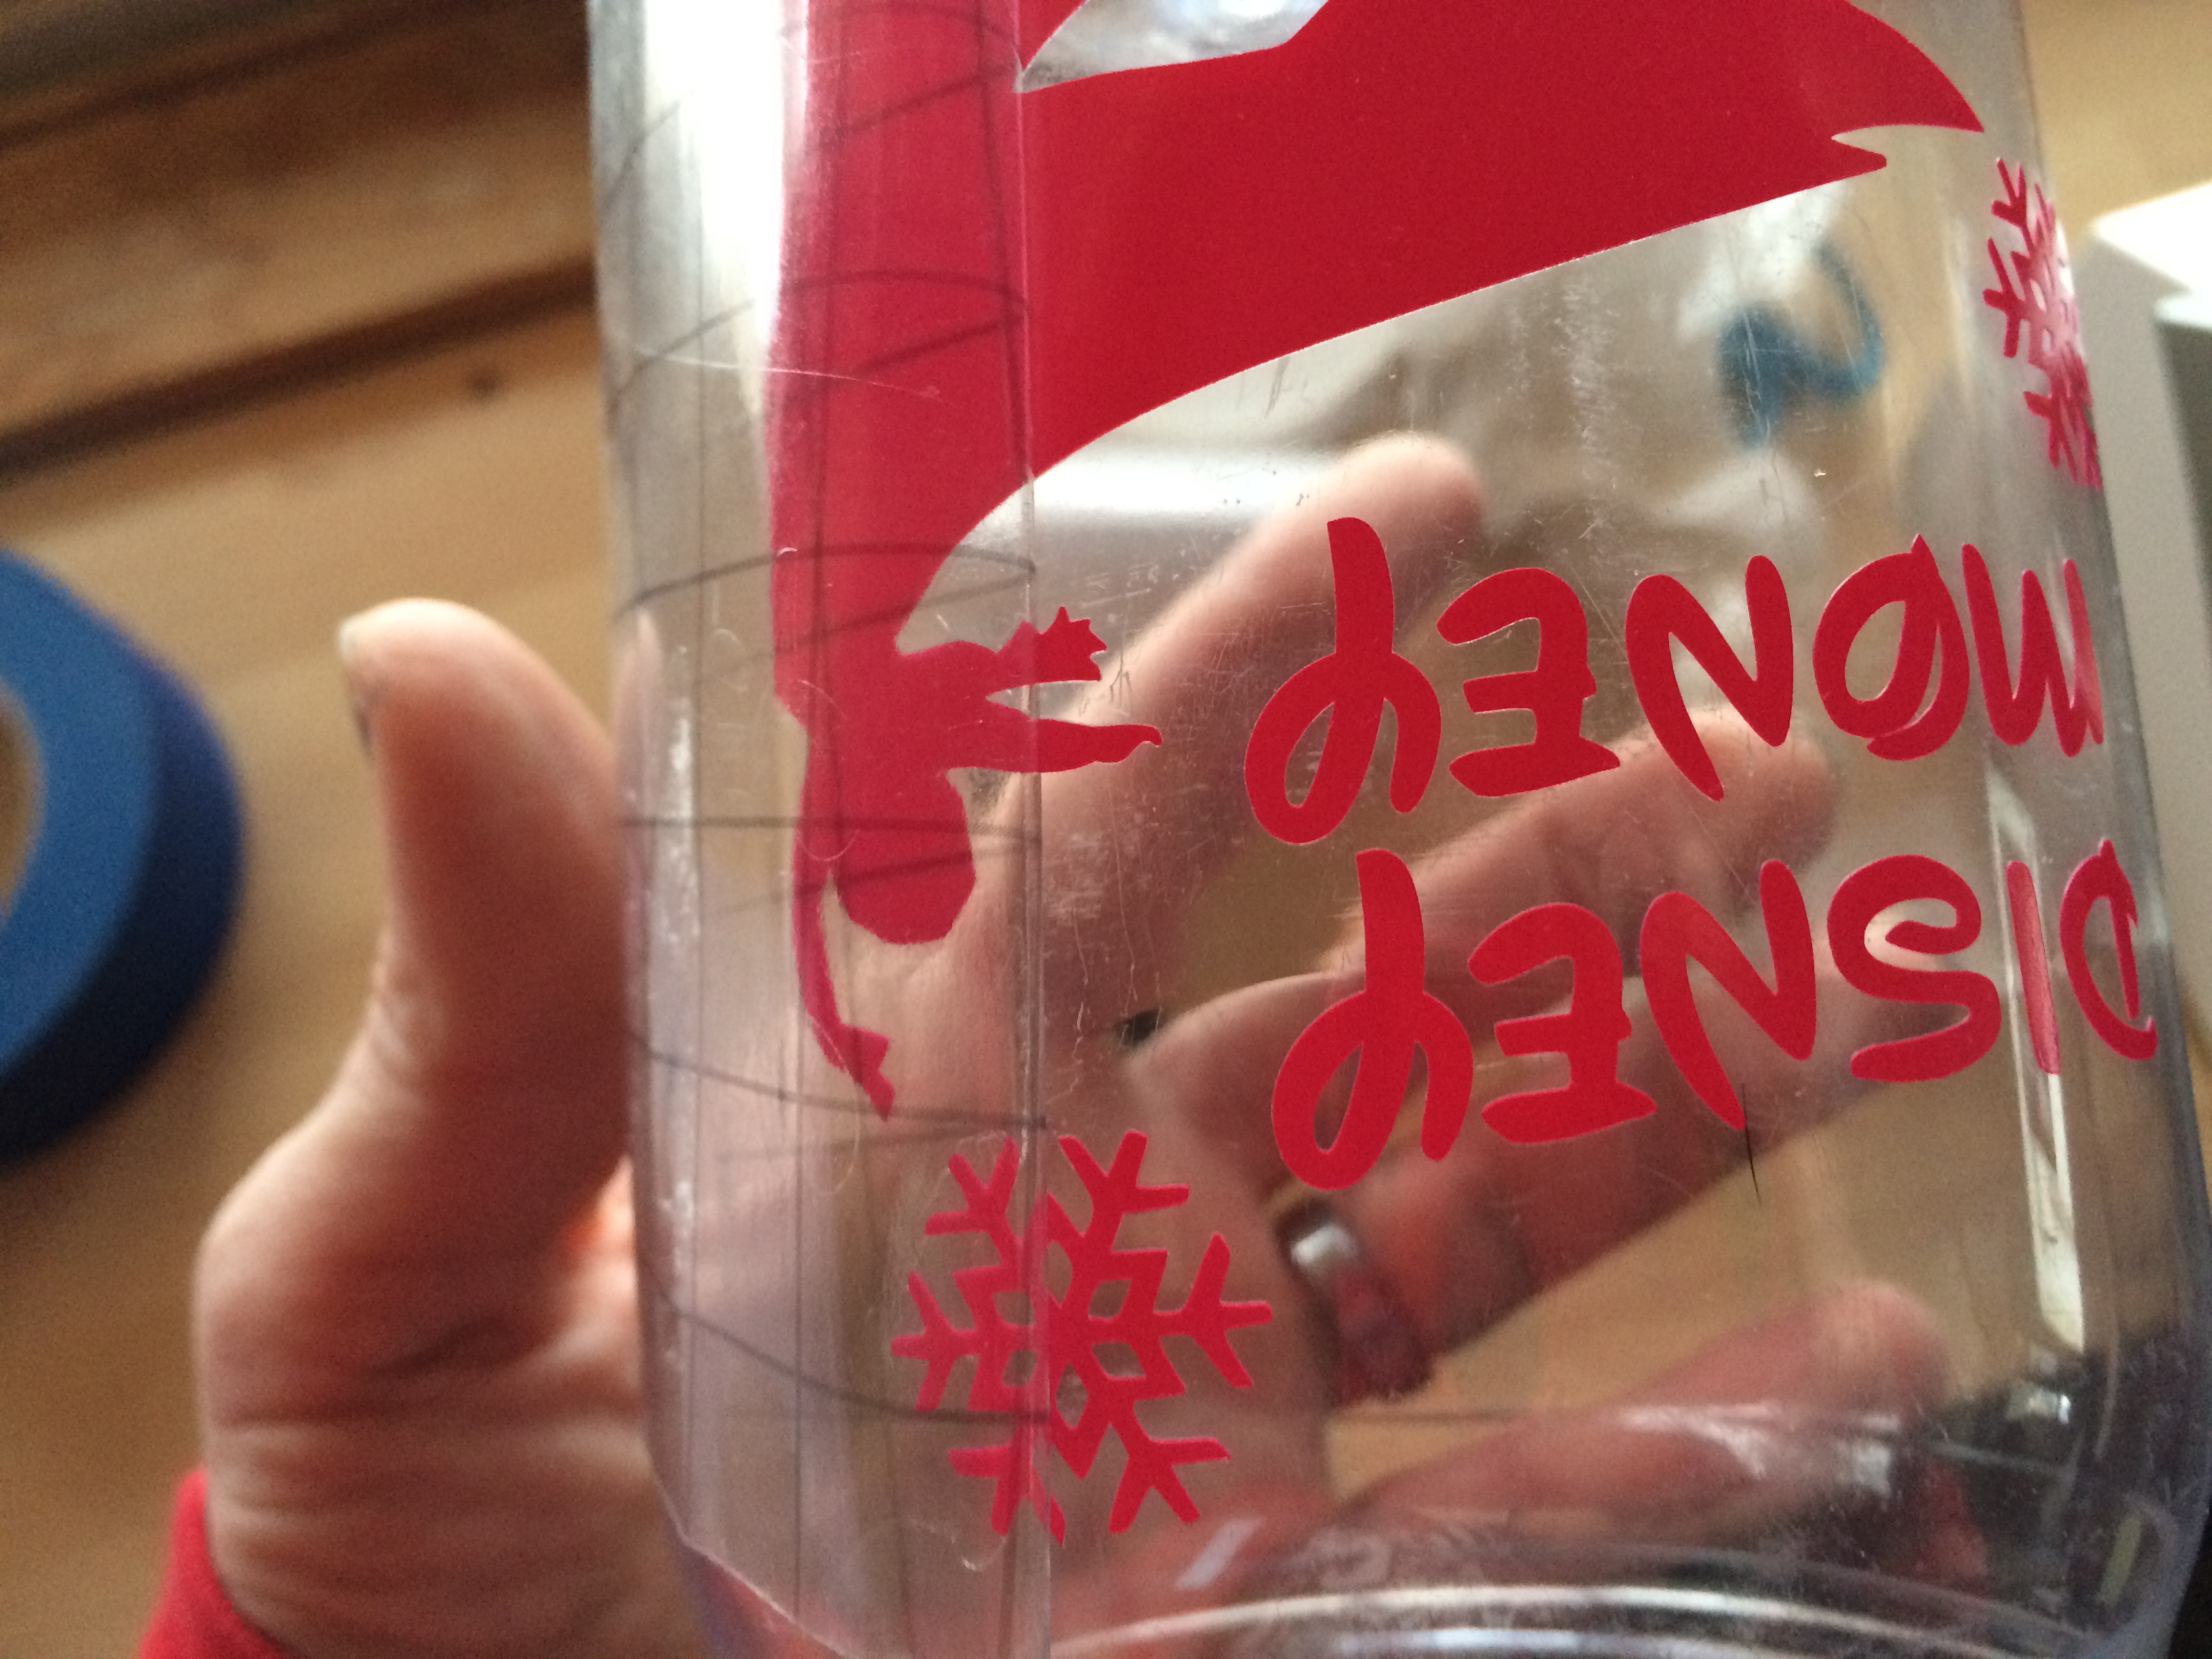
Step 6: Let it sit at least 20 minutes, or ideally, overnight. Then peel up the transfer tape.
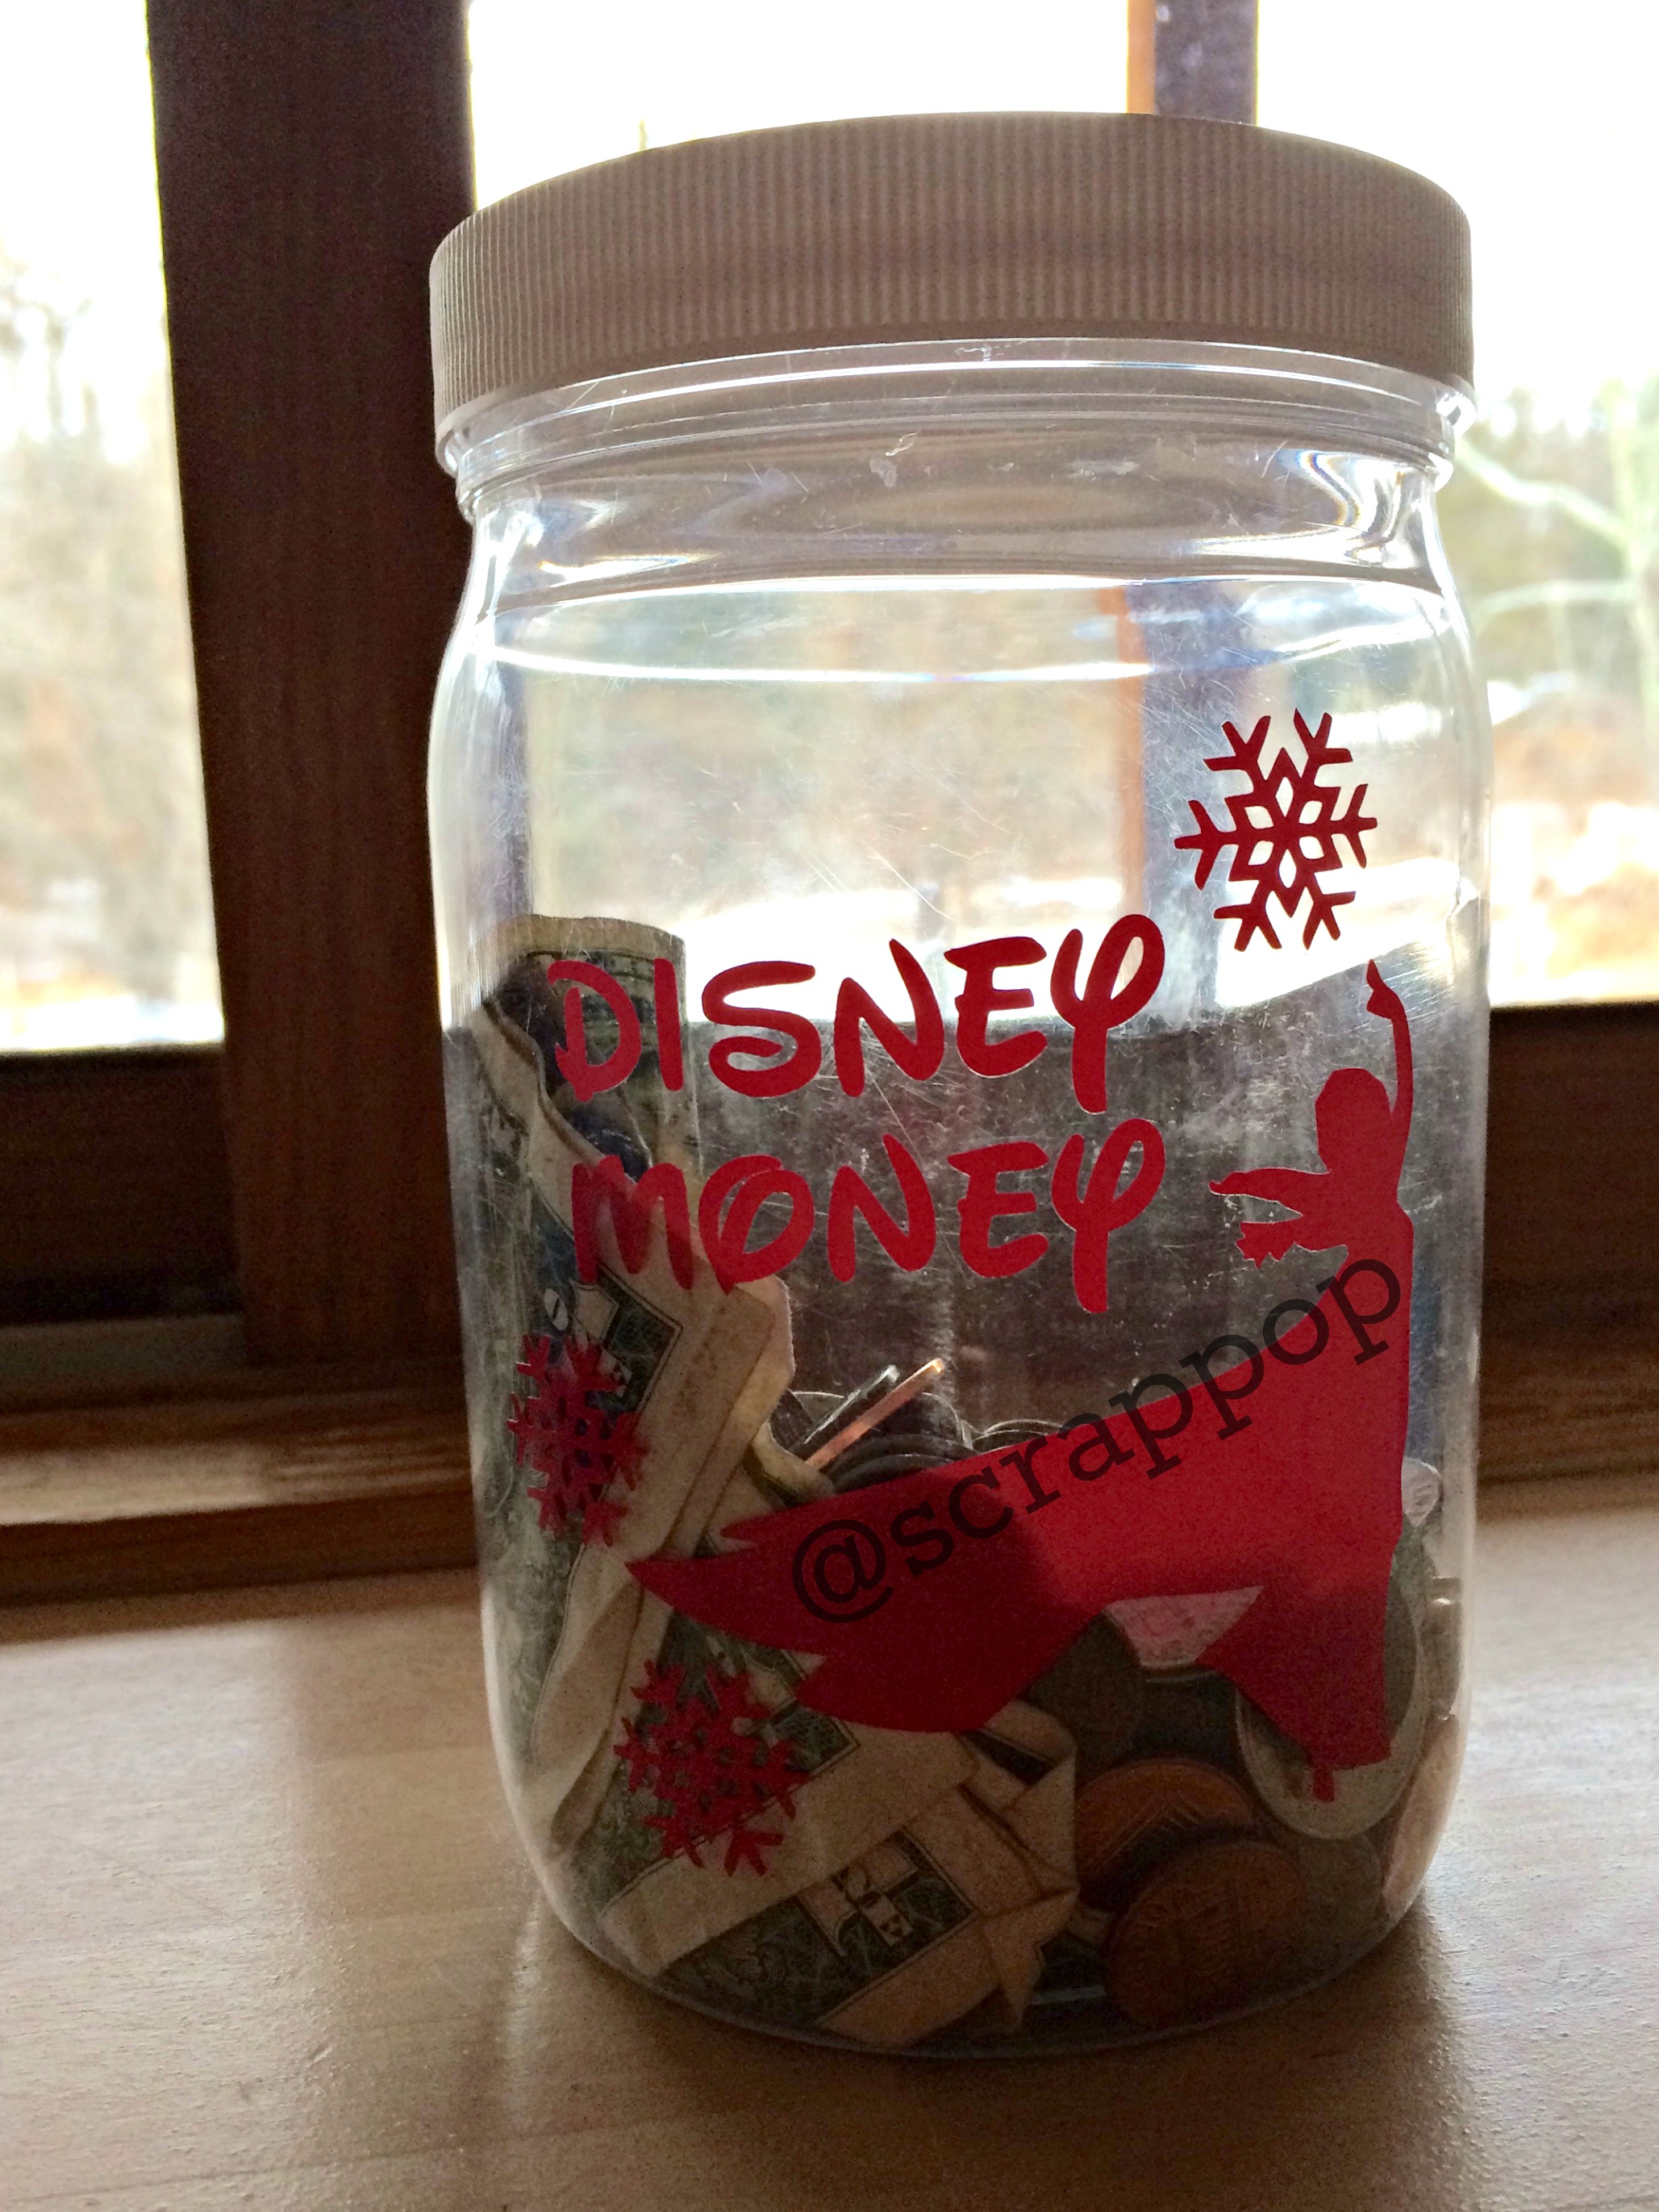
Now marvel at your bubble free money saving jar and start digging in your couch cushions for change.
Music: My daughter singing “Let it Go” for like, the jillionth time
Drinking: Coffee regular, cause it’s daytime.
Leave a Reply