The Christmas break birthday is both a blessing and a curse for us parents. While the kids have mixed feelings about the return to school tomorrow, the fun of getting to bring their birthday treats did make tonight’s back to school preparations a bit more fun. A couple days ago, we started talking about what they wanted to bring to share with the classroom and one thing was clear… they are my children!
I believe the conversation went something like this:
Me: I have this idea for some fun birthday cupcakes. I found it online, do you want to see?
R: Mom, we can’t bring cupcakes. Everyone brings cupcakes.
Me: How about donuts then? I bet no one has brought in donuts?
J: We need to bring in something cool, that we all like, since it is for all three of us.
L: That no one has done before.
And that about it sums it up…. and our Pinterest search was born.
It didn’t take too long for the group to narrow down choices and most importantly to agree that we didn’t need a theme. (We certainly couldn’t get all three on the same page for Skylanders, Puppies, Pink, Sharks…etc.) Our Pinspiration came from a few different Rice Krispie desserts ideas because we could easily integrate all their requests with clever decorating. Our Pinspiration was from Mess for Less but in the interest of time, I did make a few changes to keep prep time under 30 minutes: 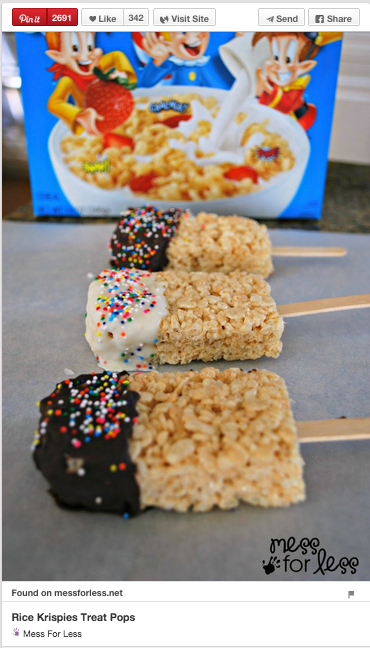
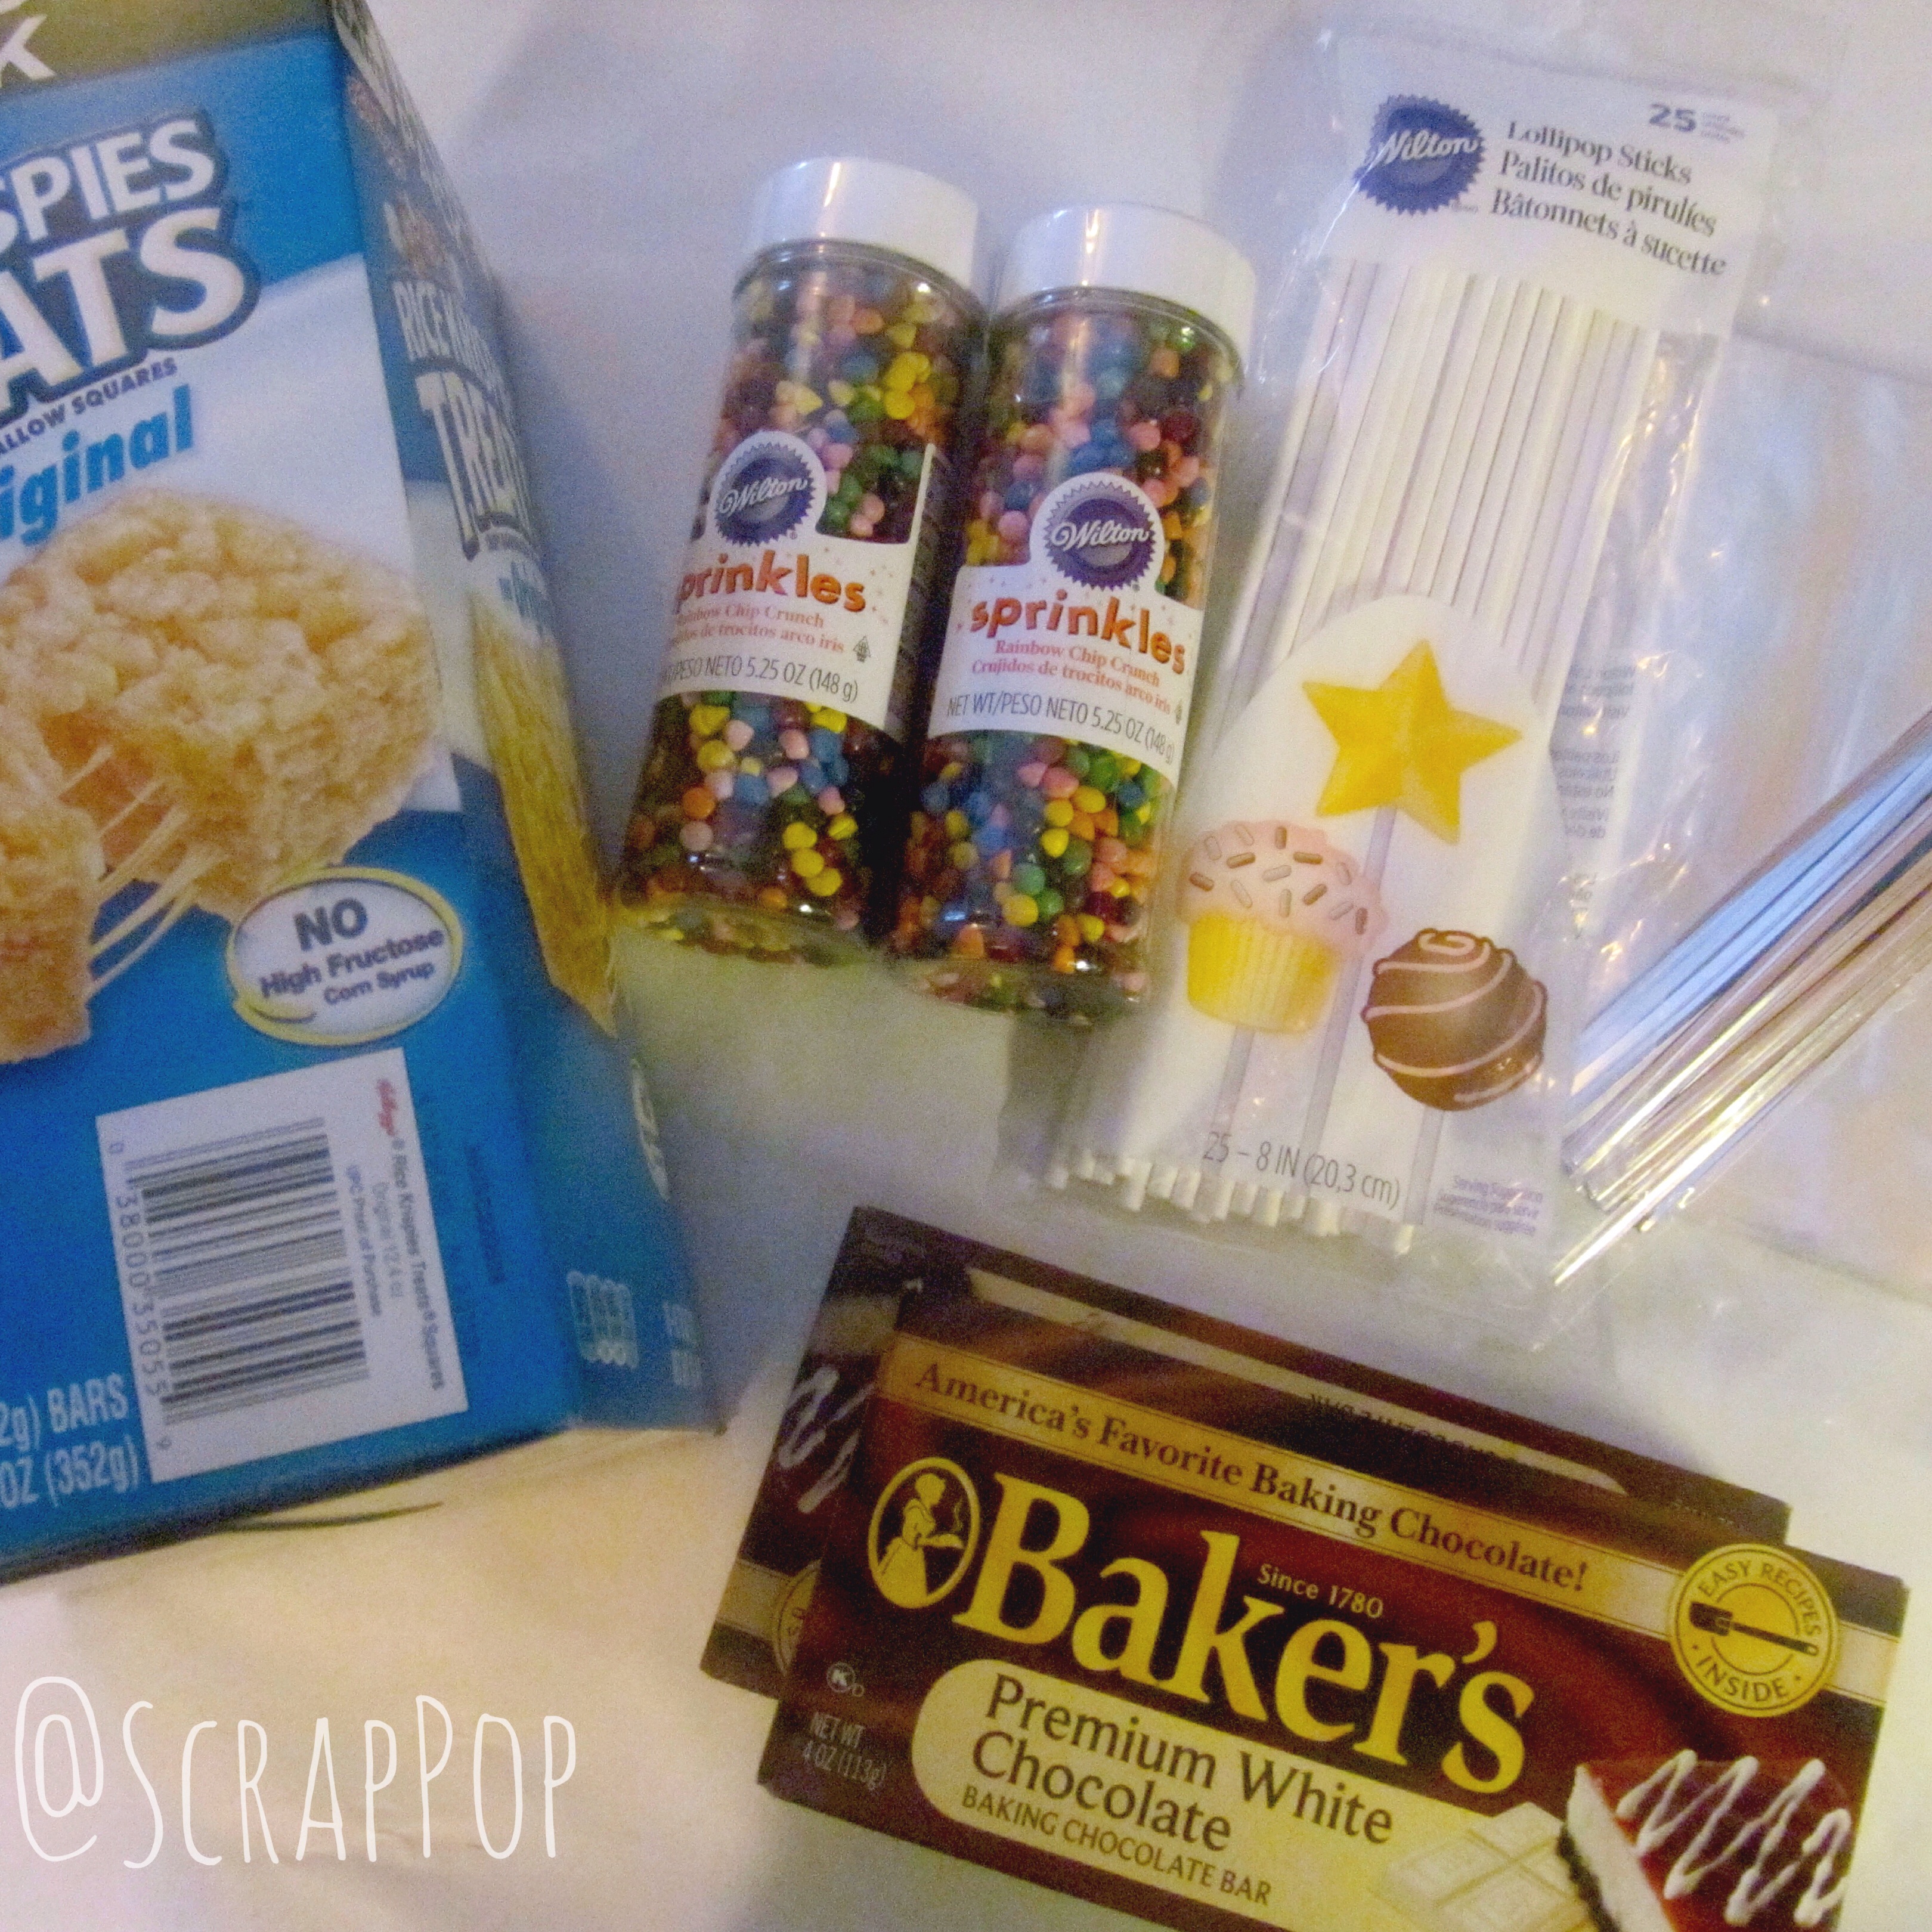
Supplies:
- 2 Boxes of Pre-Packaged Rice Krispies
- Cake Pop/Popsicle Sticks
- Dipping Chocolate (I chose Bakers white chocolate for easy microwave melting and clean-up)
- Microwaveable medium size bowl
- Sprinkles (my kids chose rainbow chocolate chips)
- Clear cookie bags ( I selected wilton package that came with silver twist ties)
- Parchment Paper or Cookie Sheet to place rice krispie pops to set
Let’s Get Started:
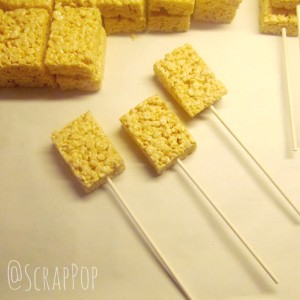
- An assembly line appeared to be the most efficient way, so first prepare the work area
- Then insert the cake pop sticks.
- Break the Baker’s white chocolate bricks into individual squares for faster melting. Follow the package instructions, microwaving the chocolate on intervals of 30 seconds and stirring. (Believe you me, you did not need to see my dirty microwave!)

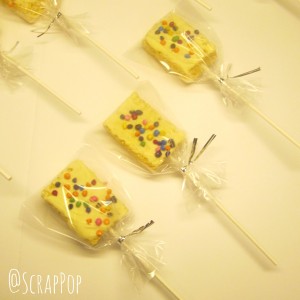
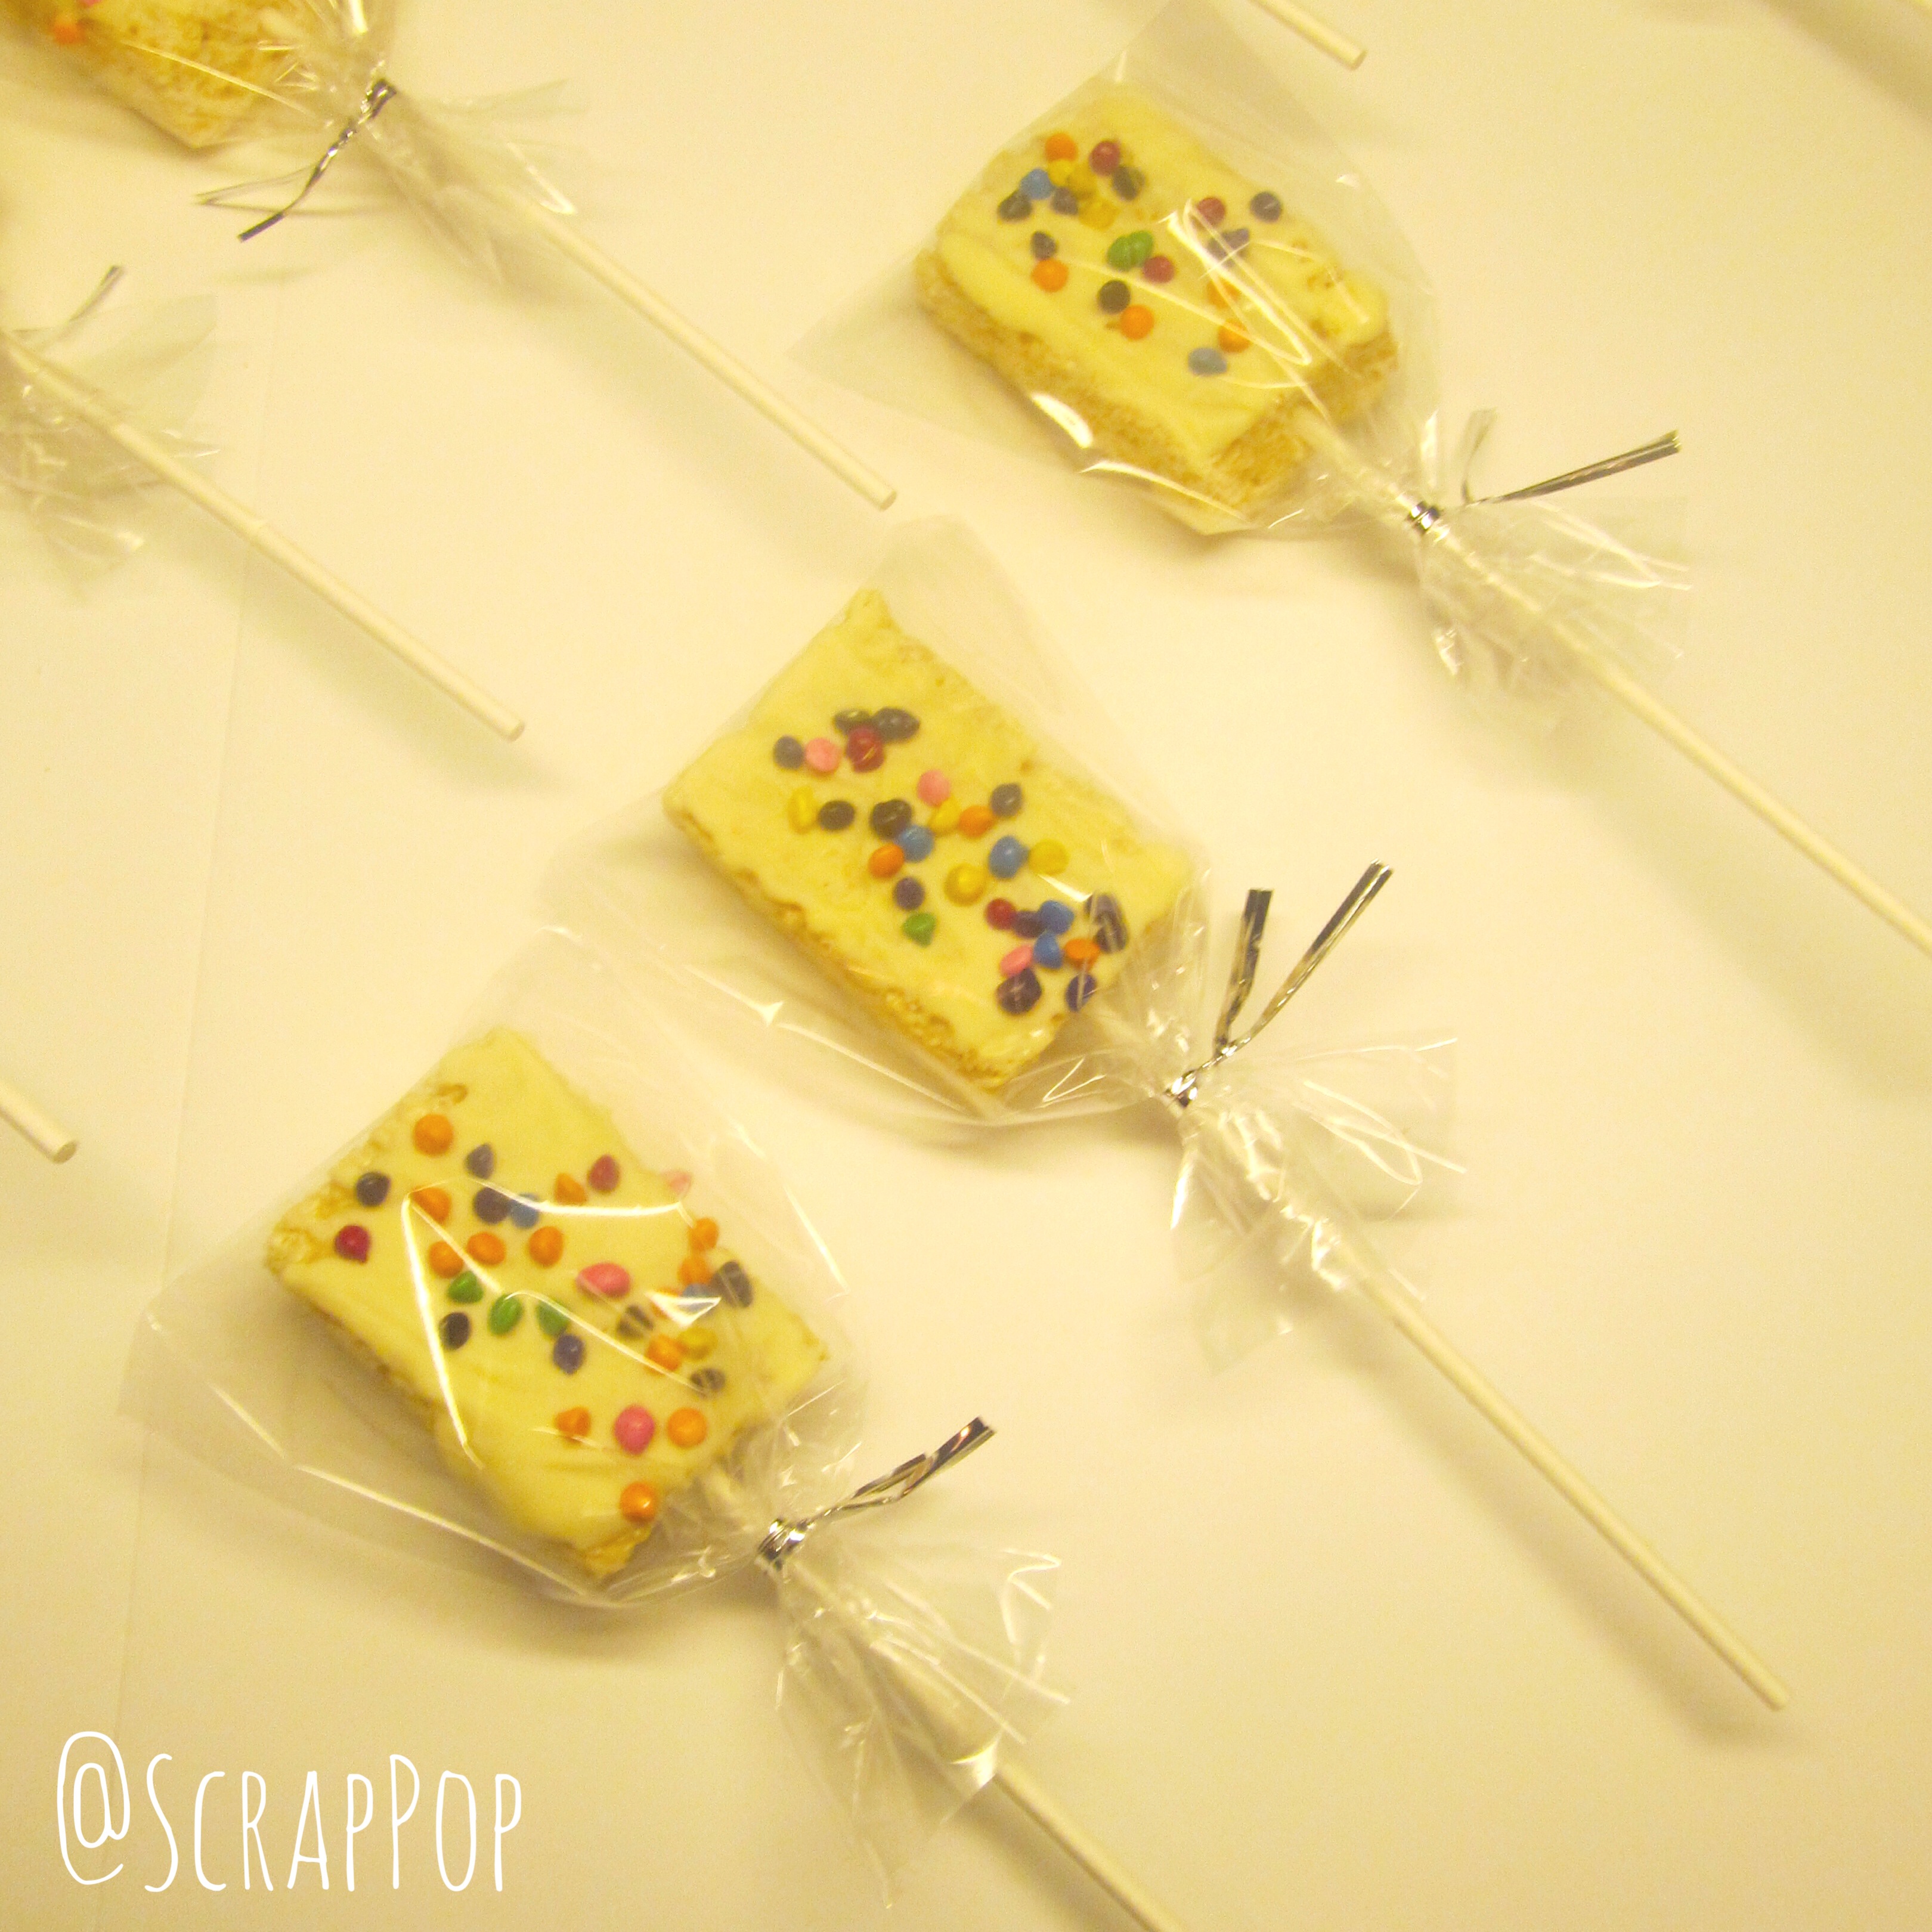
- Carefully dip the rice krispies into the bowl, or use a spoon to spread the chocolate on to the rice krispie. We decided to only put chocolate on one side for easier packaging and laid to dry on the parchment paper.
- Add your choice of sprinkles while the white chocolate is still wet to help set in place.
- The white chocolate needs to cool/dry before packaging which only took a few minutes with today’s cooler temps (19 degrees!)

Music: Homegrown playlist featuring the likes of Magic, Bruno Mars, Billy Idol, Pink, NoNoNo
Drink: Bottled water in the attempts to make up for my over indulgence all day at Dave and Busters — whoops!
Leave a Reply