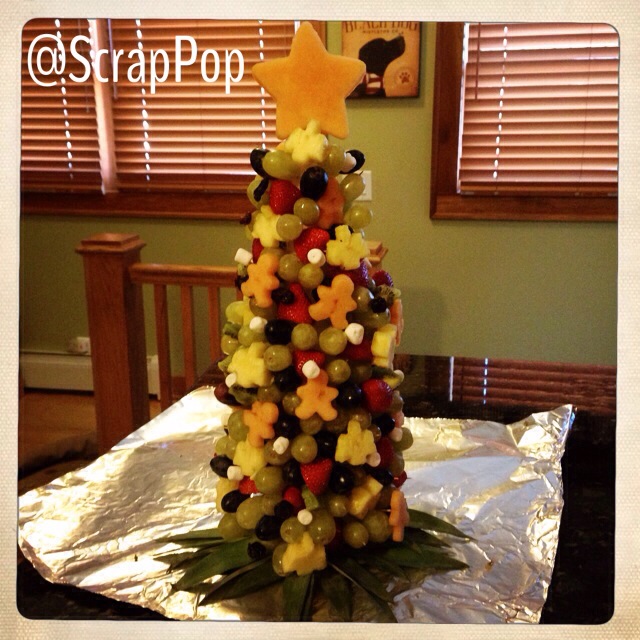
It’s that time of year, for holiday parties and potluck responsibilities. For our family gift exchange, I was tasked with bringing a fruit dish for both kids and adults to enjoy. As a mother of three, I cut up more than my share of fruit on a daily basis, so I wanted to bring something more fun than your typical bowl of fresh fruit. I started my Pinterest search and was inspired by fruit kabobs, fruit sculptures and fruit trees. But after careful consideration, I decided to try a fruit tree and here are a few of my pinspirations:
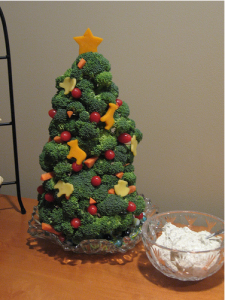
Veggie Tree by Wannagreenbean.com
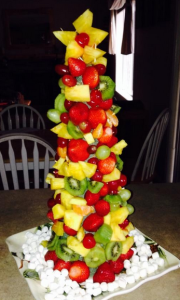
A User on Pinterest
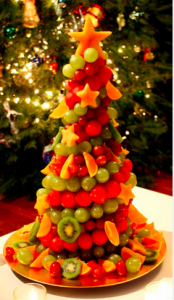
From Jeanne Benedict
The total time needed to create my tree was about 30 minutes and I was surprised how easy it was to get started. While some of my Pinspirations called for hot glue or the use of wood glue, I decided to stick with simplicity of only fresh fruit and toothpicks so I didn’t have to worry what kids might select and eat.
I am also pleased to share that the tree was a HUGE hit. Sure, folks enjoyed the presentation but the grown-ups were surprised to watch kids fly by the buffet choosing fruit over the candy and cookie plates. I call that a parenting and crafting win!
Supplies Needed:
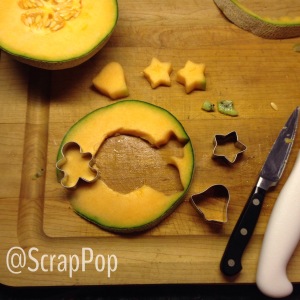
- Styrofoam cone (I found both green and white cones in all sizes at Michaels)
- Toothpicks
- Small/Mini Cookie Cutters
- Variety of Fruit (I used red grapes, green grapes, strawberries, pineapple, cantaloupe, and mini-marshmallows)

Let’s Get Started:
- I was unsure how many pieces would be needed to complete my tree so I added the fruit to the cone in a random pattern, as each piece was ready.
- I cut the cantaloupe in less than ½ inch slices so that I could use the cookie cutters easily. Again, preparing several pieces with toothpicks and sticking them to the foam cone.
- I added grapes and strawberries by toothpick to the Styrofoam cone in random patterns to start to fill in the tree.

- I found it best to layer the toothpicks at different depths to showcase some of the cookie cutter pieces.
- I added mini-marshmallows on some of the tips of the toothpicks to add an additional color.
- I saved the pineapple leaves to add texture and arranged these at the bottom of my finished tree.
- To easily transport my tree, I wrapped in loose aluminum foil and transferred the tree to a charger plate on the buffet upon arrival.

Music: Music was not enjoyed during this project. My ears were blessed with the repeated barrage of questions from my shorties “When are we leaving?,” “I am hungry,” “ Can I have some?”
Drink: Sadly, no drinks were enjoyed either. If I could have, I would have gone with the bottle of Sofia Champagne from my fridge as bubbles add fun to everything!
Leave a Reply